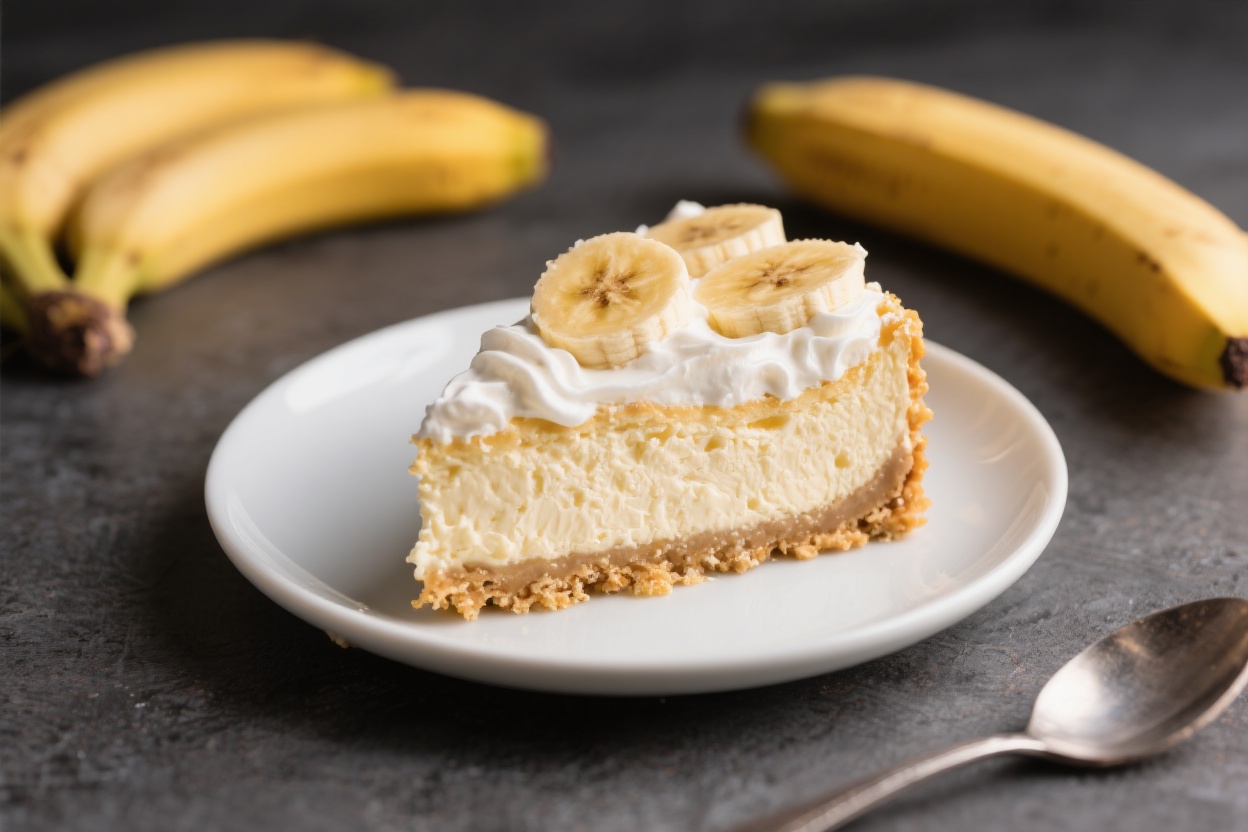
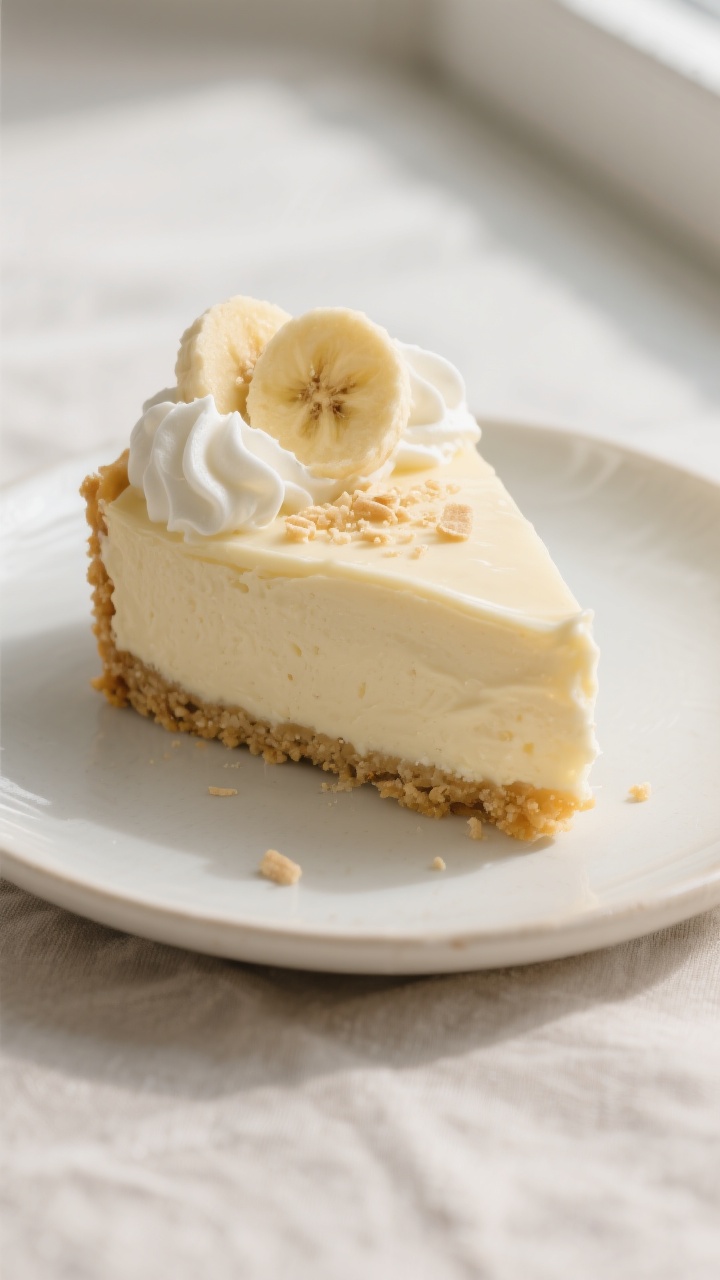
Banana pudding and cheesecake are two desserts that never go out of style, and this recipe blends them into one creamy, dreamy slice. It’s smooth, banana-forward, and layered with vanilla wafers for that nostalgic pudding vibe. The texture lands somewhere between classic cheesecake and silky banana cream pie.
If you love Southern-style banana pudding and New York-style cheesecake, this is the best of both worlds. It’s perfect for birthdays, holidays, or anytime you want something special that still feels familiar.
Contents
What Makes This Recipe So Good
- Classic flavors, elevated: You get the cozy feel of banana pudding with the rich, tangy finish of cheesecake.
- Ultra-creamy texture: Sour cream and ripe bananas keep the filling smooth and lush without being heavy.
- Foolproof crust: Vanilla wafer crust holds up beautifully and adds a sweet crunch in every bite.
- No fussy steps: A water bath and a slow cooldown help prevent cracks, keeping the top smooth and picture-perfect.
- Make-ahead friendly: Tastes even better the next day, which makes entertaining less stressful.
Ingredients
- For the crust:
- 2 cups vanilla wafer cookie crumbs (about 8 ounces)
- 5 tablespoons unsalted butter, melted
- 2 tablespoons granulated sugar
- Pinch of fine sea salt
- For the cheesecake filling:
- 24 ounces cream cheese, softened to room temperature
- 3/4 cup granulated sugar
- 1/4 cup light brown sugar, packed
- 3 large eggs, at room temperature
- 3/4 cup sour cream, at room temperature
- 2 teaspoons pure vanilla extract
- 1/4 teaspoon fine sea salt
- 2 ripe bananas, mashed very smooth (about 1 cup)
- 2 tablespoons cornstarch or instant vanilla pudding mix (for thickening)
- For the topping:
- 1 cup cold heavy whipping cream
- 2 tablespoons powdered sugar
- 1/2 teaspoon vanilla extract
- 1–2 ripe but firm bananas, sliced (add just before serving)
- Extra vanilla wafers, for garnish (optional)
Step-by-Step Instructions
- Prep your pan and oven: Heat oven to 325°F (163°C). Wrap the outside of a 9-inch springform pan with two layers of heavy-duty foil to keep water out during the bath.Lightly grease the inside.
- Make the crust: Stir together vanilla wafer crumbs, melted butter, sugar, and salt until the texture resembles wet sand. Press firmly into the bottom and 1 inch up the sides of the pan. Bake for 10 minutes, then cool slightly.
- Beat the cream cheese: In a large bowl, beat cream cheese on medium speed until completely smooth, about 2 minutes.Scrape the bowl well to remove any lumps.
- Add sugars and salt: Mix in granulated sugar, brown sugar, and salt until blended and silky, about 1 minute. Avoid overbeating to limit air bubbles.
- Incorporate sour cream and vanilla: Add sour cream and vanilla extract; mix just until combined. Scrape the bowl again.
- Thicken and add banana: Whisk cornstarch (or instant pudding mix) into the mashed bananas until smooth.Add to the batter and mix on low until fully combined.
- Add the eggs: Beat in eggs one at a time on low speed, mixing just until each is incorporated. Do not overmix.
- Assemble the water bath: Pour the batter into the crust. Place the foil-wrapped pan into a large roasting pan.Pour hot water into the roasting pan until it reaches halfway up the sides of the springform.
- Bake: Bake at 325°F for 55–70 minutes. The edges should be set, and the center should jiggle slightly like gelatin. Do not wait for it to be firm in the middle.
- Cool gradually: Turn off the oven, crack the door, and let the cheesecake rest inside for 45–60 minutes.Then remove from the bath, unwrap the foil, and cool to room temperature.
- Chill fully: Cover and refrigerate for at least 6 hours, preferably overnight. This sets the texture and deepens the flavor.
- Make the whipped topping: Beat heavy cream, powdered sugar, and vanilla to medium peaks. Keep chilled until ready to use.
- Top and serve: Spread or pipe whipped cream over the chilled cheesecake.Add banana slices and crushed vanilla wafers just before serving for the freshest look and taste.
Storage Instructions
- Refrigerator: Store covered for up to 4 days. Add fresh banana slices right before serving each time.
- Freezer: Freeze slices (without bananas or whipped cream) by wrapping well and sealing in a freezer bag for up to 2 months. Thaw overnight in the fridge, then add toppings.
- Make ahead: Bake the cheesecake 1–2 days in advance.Whip the cream and slice bananas on the day you plan to serve.
Why This is Good for You
- Real fruit flavor: Ripe bananas bring natural sweetness, so you can use slightly less sugar without losing taste.
- Balanced richness: The sour cream adds tang, which keeps the dessert from feeling too heavy.
- Portion-friendly: A small slice is satisfying thanks to the creamy texture and banana aroma, helping curb overindulging.
- Comfort factor: Familiar flavors can be soothing and make celebrations feel special, which is good for the soul.
Common Mistakes to Avoid
- Overmixing the batter: Too much air creates bubbles and can cause cracks. Mix on low and scrape the bowl often.
- Skipping the thickener: Bananas add moisture. Cornstarch or pudding mix helps the cheesecake set cleanly.
- Baking until fully set: If the center is firm in the oven, it’s overbaked.Look for a slight wobble.
- Rushing the cooldown: Sudden temperature changes can crack the top. Let it cool slowly in the oven first.
- Adding bananas too early: Banana slices brown fast. Add them right before serving for the best look and texture.
- Water bath leaks: Use heavy-duty foil and check the seal.A wet crust turns soggy.
Variations You Can Try
- Banana Foster Drizzle: Warm butter, brown sugar, cinnamon, and a splash of dark rum. Spoon over slices for a restaurant-style finish.
- Chocolate Swirl: Melt 4 ounces of semisweet chocolate and swirl into the batter before baking for a marbled effect.
- Peanut Butter Twist: Whisk 1/3 cup creamy peanut butter with a bit of batter and swirl it in for a banana-peanut-butter combo.
- Gluten-Free Crust: Use gluten-free vanilla wafers or make a crust with almond flour, butter, and a little sugar.
- Mini Cheesecakes: Bake in a lined muffin tin with wafer cookies as the base. Reduce bake time to 18–22 minutes.
- No-Bake Shortcut: Use a no-bake wafer crust and fold mashed bananas and instant pudding into whipped cream cheese.Chill to set.
FAQ
Can I use banana extract instead of fresh bananas?
Yes, but use it sparingly because it’s potent. Fresh bananas give the best texture and natural flavor, while extract can help boost banana notes if your fruit isn’t super ripe. Start with 1/4 teaspoon and adjust to taste.
How do I prevent the top from cracking?
Use room-temperature ingredients, avoid overmixing, bake in a water bath, and cool gradually in the oven with the door cracked.
If you still get a small crack, whipped cream neatly covers it.
Do I have to use a water bath?
You don’t have to, but it’s strongly recommended. The moist, gentle heat reduces cracking and keeps the texture creamy. If skipping, bake at 300°F and place a pan of hot water on a lower rack to add humidity.
Which bananas are best?
Choose ripe bananas with plenty of brown spots for maximum sweetness and flavor.
Avoid bananas that are black and overly soft, which can add too much moisture and a fermented taste.
Can I add sliced bananas inside the cheesecake?
It’s better not to. Sliced bananas can weep moisture and turn mushy. Keep banana flavor in the batter and save the slices for the top right before serving.
What if I don’t have a springform pan?
Use a deep 9-inch cake pan lined with a long strip of parchment that overhangs the sides for lifting.
Still wrap with foil for the water bath. Cooling and chilling times remain the same.
How do I know when it’s done?
Gently nudge the pan. The edges should be set while the center jiggles slightly.
If it waves like liquid, bake a bit longer; if it’s stiff throughout, it’s overbaked.
Final Thoughts
This Banana Pudding Cheesecake brings comfort and elegance together in one bite. It’s simple to make, easy to customize, and reliable enough for any occasion. Take your time with the bake and the chill, and you’ll end up with a smooth, banana-scented showstopper that everyone remembers.
Keep extra wafers on hand—people always come back for seconds.
Printable Recipe Card
Want just the essential recipe details without scrolling through the article? Get our printable recipe card with just the ingredients and instructions.