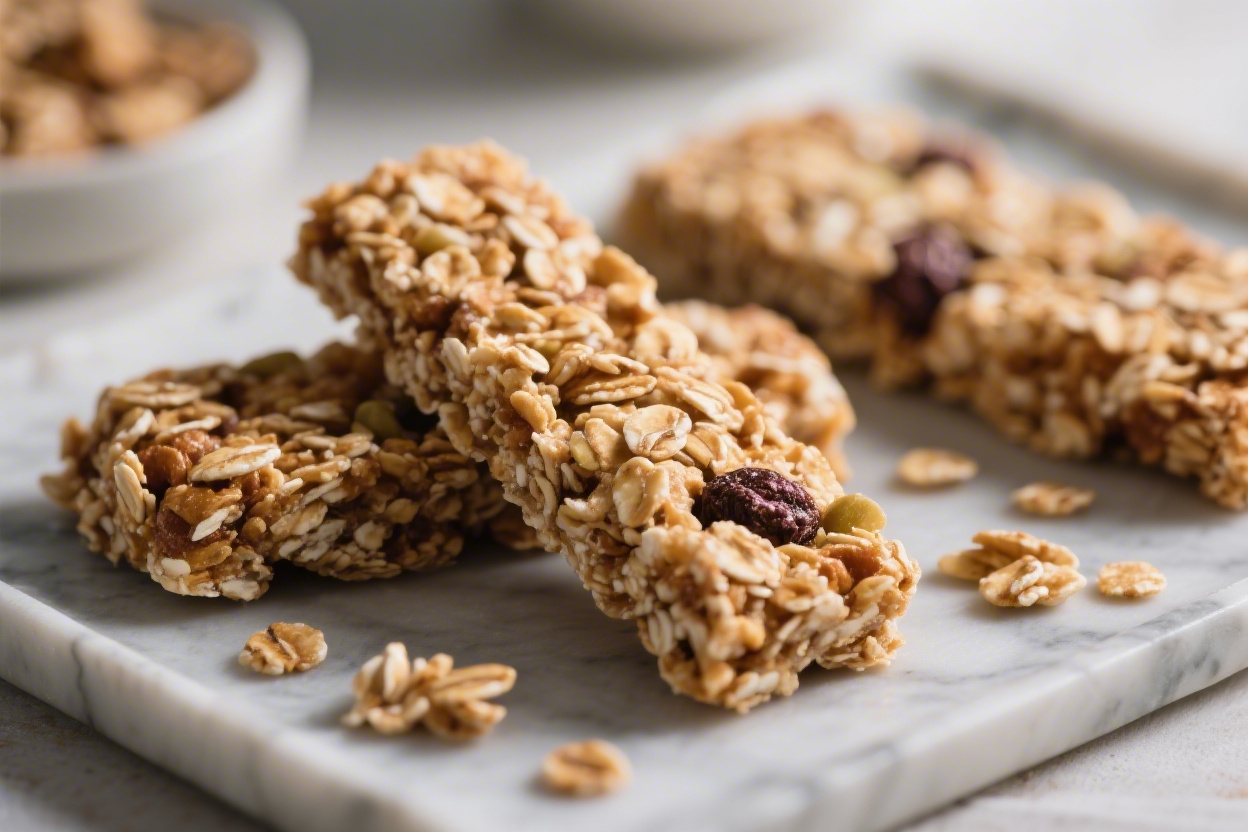
Homemade granola bars are the kind of snack you feel good about making and even better about eating. They’re chewy, a little crunchy, just sweet enough, and packed with real ingredients you can pronounce. No mystery syrups or additives—just oats, nuts, seeds, and a touch of honey or maple syrup to hold it all together.
These bars are great for busy mornings, lunch boxes, and afternoon energy dips. Once you make a batch, you’ll wonder why you ever bought them at the store.
Contents
What Makes This Recipe So Good
- Simple pantry ingredients: You probably have most of what you need already—oats, honey, nut butter, and a handful of mix-ins.
- Customizable: Swap nuts, seeds, and dried fruit to match your taste or whatever you have on hand.
- No baking required (if you like): This version can be made as a no-bake bar. If you prefer a firmer, toastier bar, you can bake it briefly.
- Budget-friendly: A whole pan costs less than a few store-bought bars and yields more servings.
- Balanced energy: Oats and nuts provide fiber, protein, and healthy fats to keep you fuller longer.
Ingredients
- 2 1/2 cups old-fashioned rolled oats
- 1/2 cup chopped nuts (almonds, walnuts, pecans, or a mix)
- 1/4 cup seeds (pumpkin seeds, sunflower seeds, or chia)
- 1/2 cup dried fruit (cranberries, raisins, cherries, or apricots), chopped if large
- 1/3 cup unsweetened shredded coconut (optional)
- 1/2 cup creamy nut or seed butter (peanut, almond, cashew, or sunflower seed)
- 1/3–1/2 cup honey or pure maple syrup (adjust for sweetness and binding)
- 2 tablespoons coconut oil or unsalted butter
- 1 teaspoon vanilla extract
- 1/2 teaspoon ground cinnamon (optional)
- 1/4 teaspoon fine sea salt
- 1/4 cup mini dark chocolate chips (optional, plus extra for sprinkling)
How to Make It
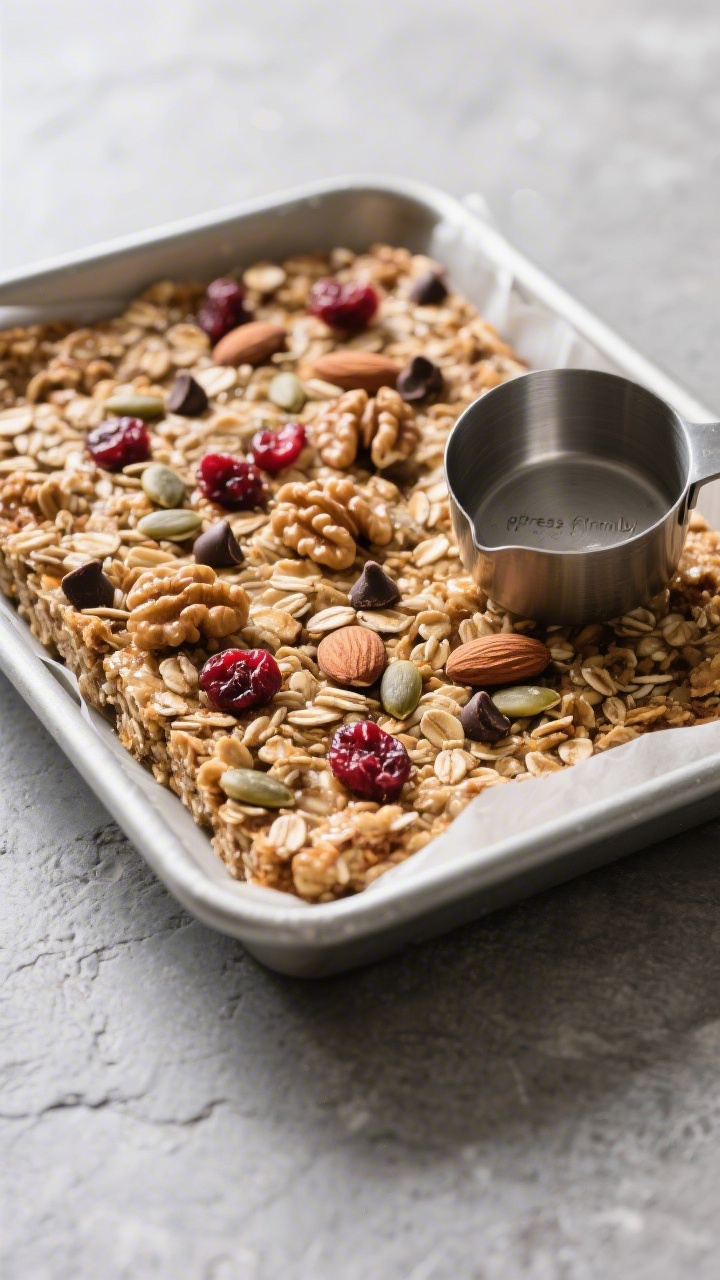
- Prep the pan: Line an 8×8-inch baking pan with parchment, leaving an overhang on two sides for easy lifting.Lightly grease the parchment.
- Toast the dry ingredients (optional but recommended): In a dry skillet over medium heat, toast the oats for 3–4 minutes until fragrant. Add nuts and seeds for the last 2 minutes. This step adds flavor and crunch.
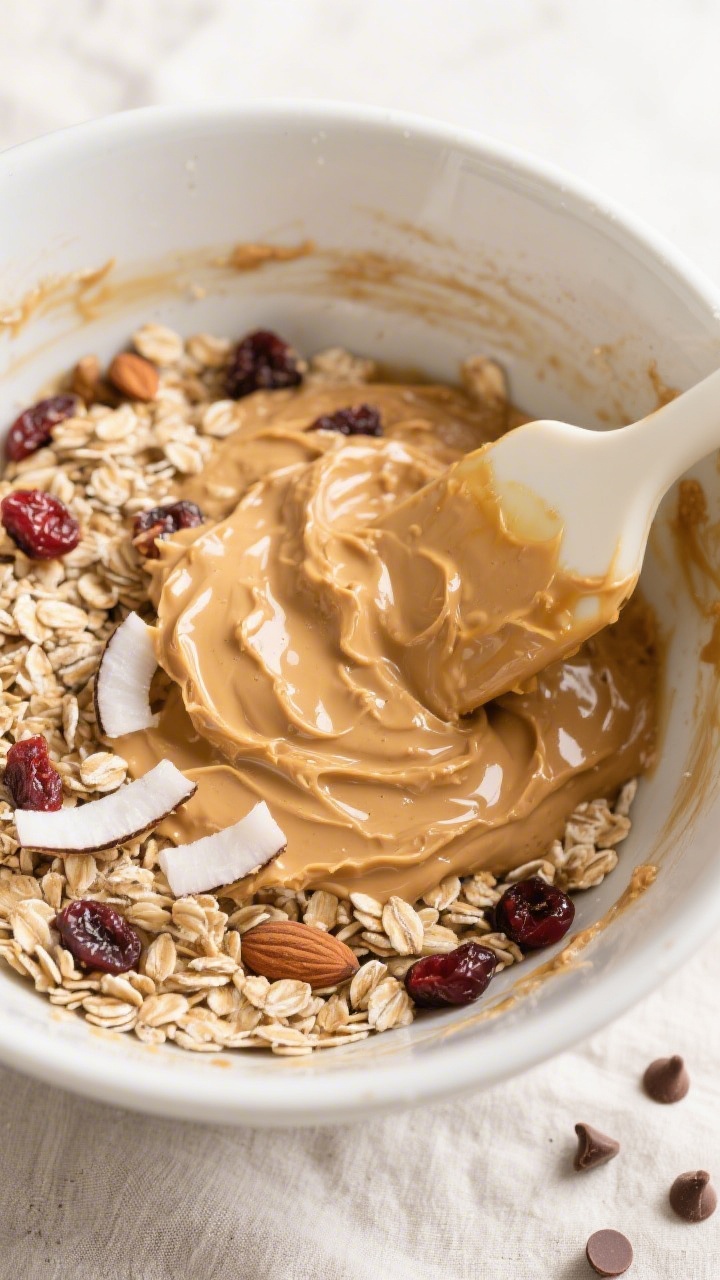
- Combine mix-ins: In a large bowl, stir together oats, nuts, seeds, dried fruit, and coconut.If using chocolate chips, set them aside for now to avoid melting.
- Warm the binder: In a small saucepan over low heat, melt coconut oil with nut butter and honey (start with 1/3 cup). Stir until smooth, then remove from heat and mix in vanilla, cinnamon, and salt.
- Bring it together: Pour the warm mixture over the dry ingredients. Stir thoroughly until everything is evenly coated.If the mixture looks dry or crumbly, add another tablespoon or two of honey or nut butter.
- Fold in chocolate: Let the mixture cool for a minute, then stir in chocolate chips so they don’t melt completely.
- Pack it firmly: Transfer the mixture to the prepared pan. Press it down very firmly using the back of a measuring cup or a flat spatula. Packing tightly is key for bars that hold together.
- Chill to set: Cover and refrigerate for at least 2 hours, or freeze for 30–40 minutes until firm.
- Slice and serve: Lift out using the parchment overhang and cut into 10–12 bars. For clean cuts, use a sharp knife and wipe between slices.
- Optional baked version: For a toastier, firmer bar, bake at 325°F (165°C) for 12–15 minutes, cool completely, then chill before slicing.
Storage Instructions
- Room temperature: Keep in an airtight container for up to 3 days if your kitchen is cool.If it’s warm, the bars may soften.
- Refrigerator: Store in a sealed container for 1–2 weeks. Place parchment between layers to prevent sticking.
- Freezer: Wrap bars individually, then freeze in a zip-top bag for up to 3 months. Thaw at room temperature or in the fridge.
Why This is Good for You
- Steady energy: Rolled oats provide complex carbs and fiber, which help keep blood sugar steadier than refined snacks.
- Healthy fats and protein: Nuts and seeds deliver fats your body needs, plus some protein to help with satiety.
- Natural sweetness: Honey or maple syrup adds sweetness without the artificial additives found in many packaged bars.
- Micronutrients: Dried fruit brings antioxidants and minerals, while seeds add magnesium, zinc, and iron.
- Fewer additives: Making them at home lets you control sodium, sugar levels, and any allergens.
Common Mistakes to Avoid
- Not pressing the mixture firmly: Loose packing leads to crumbly bars.Really press down—don’t be gentle.
- Skipping chill time: The bars need time to set. Cut them too early and they’ll fall apart.
- Using quick oats: Quick oats can make the texture mushy. Stick to old-fashioned rolled oats for the best chew.
- Too many dry mix-ins: Overloading nuts and fruit without adjusting the binder can make the bars dry.Add a bit more honey or nut butter if needed.
- Overheating the binder: Boiling the honey can change the flavor and make the mixture too runny. Warm it gently until just combined.
Recipe Variations
- Peanut Butter Chocolate: Use peanut butter, add roasted peanuts, and top with a light drizzle of melted dark chocolate.
- Tropical Crunch: Add coconut flakes, chopped dried mango, and macadamia nuts. Use a touch of lime zest for brightness.
- Almond Cherry: Almond butter, sliced almonds, dried cherries, and a pinch of almond extract instead of vanilla.
- Seed Lover’s: Skip nuts and use pumpkin, sunflower, chia, and flax seeds.Great for nut-free lunches—use sunflower seed butter.
- Spice Boost: Add ground ginger and cinnamon, plus chopped dried apricots and pistachios.
- Protein Perk: Stir in 1–2 scoops of unflavored or vanilla protein powder. If the mix gets too dry, add extra nut butter or a splash of milk.
- Low-Sugar Option: Reduce honey to 1/3 cup and use extra nut butter for binding. Choose unsweetened dried fruit and skip chocolate chips.
FAQ
How do I keep my granola bars from falling apart?
Press the mixture into the pan very firmly, chill for at least 2 hours, and use enough binder.
If it crumbles, add a tablespoon or two more honey or nut butter next time.
Can I make these completely vegan?
Yes. Use maple syrup instead of honey and choose a plant-based butter or coconut oil. Check your chocolate chips to ensure they’re dairy-free.
Are these gluten-free?
They can be.
Use certified gluten-free oats and check your mix-ins for gluten cross-contamination.
What’s the best way to cut clean slices?
Chill the bars well, lift them out by the parchment, and use a sharp chef’s knife. Press straight down instead of sawing. Wipe the blade between cuts.
Can I reduce the sugar?
You can lower the honey or syrup to 1/3 cup, but you’ll need enough to bind the oats.
If cutting sweetener, increase nut butter slightly to help hold things together.
Can I use steel-cut oats?
No. Steel-cut oats stay too hard and chewy. Old-fashioned rolled oats work best for texture and binding.
Do I have to toast the oats?
Not required, but it deepens the flavor and improves crunch.
If you’re short on time, skip it—the bars will still be tasty.
How long do they last?
In the fridge, they keep for up to 2 weeks. In the freezer, up to 3 months. For best texture, store them chilled and bring to room temp before eating if you prefer a softer bite.
Final Thoughts
Homemade granola bars are a straightforward, feel-good snack that you can tailor to your taste and lifestyle.
With a few staple ingredients and a bit of chill time, you’ll have a pan of chewy, wholesome bars ready for the week. Keep the base the same, switch up the mix-ins, and make them your own. Once you find your favorite combo, this recipe will be a permanent part of your snack routine.
Printable Recipe Card
Want just the essential recipe details without scrolling through the article? Get our printable recipe card with just the ingredients and instructions.