Starting solids is a big milestone, and it can feel exciting and a little overwhelming. Purees are a gentle way to introduce new flavors, textures, and nutrients while letting your baby explore at their own pace. This guide walks you through simple, stage-by-stage purees—from first tastes to more adventurous combos.
You’ll find easy ingredients, clear steps, storage tips, and helpful FAQs so you can feel confident at mealtime.
Contents
- 1 What Makes This Recipe So Good
- 2 Ingredients
- 3 How to Make It
- 4 Keeping It Fresh
- 5 Benefits of This Recipe
- 6 Common Mistakes to Avoid
- 7 Recipe Variations
- 8 FAQ
- 8.1 When should I start offering purees?
- 8.2 How much should my baby eat at first?
- 8.3 What about allergens like peanut or egg?
- 8.4 How do I know when to move to thicker textures?
- 8.5 Can I use store-bought purees too?
- 8.6 What if my baby makes a face or refuses?
- 8.7 Do I need special equipment?
- 8.8 Is water or milk best for thinning?
- 8.9 How do I reheat safely?
- 8.10 What textures should I aim for by 9–10 months?
- 9 Wrapping Up
What Makes This Recipe So Good
- Stage-based approach: Starts with single-ingredient purees and moves to thicker blends and combos as your baby grows.
- Wholesome ingredients: Uses fruits, veggies, grains, and proteins with no added salt or sugar.
- Flexible method: Steam, roast, or simmer—use what you have and what fits your schedule.
- Easy to freeze: Make a batch once, portion it out, and you’re set for days.
- Balanced nutrition: Includes iron-rich options, healthy fats, and fiber to support growth and digestion.
Ingredients
Choose ingredients based on your baby’s stage and readiness. Always wash produce well, peel when needed, and remove seeds and tough skins.
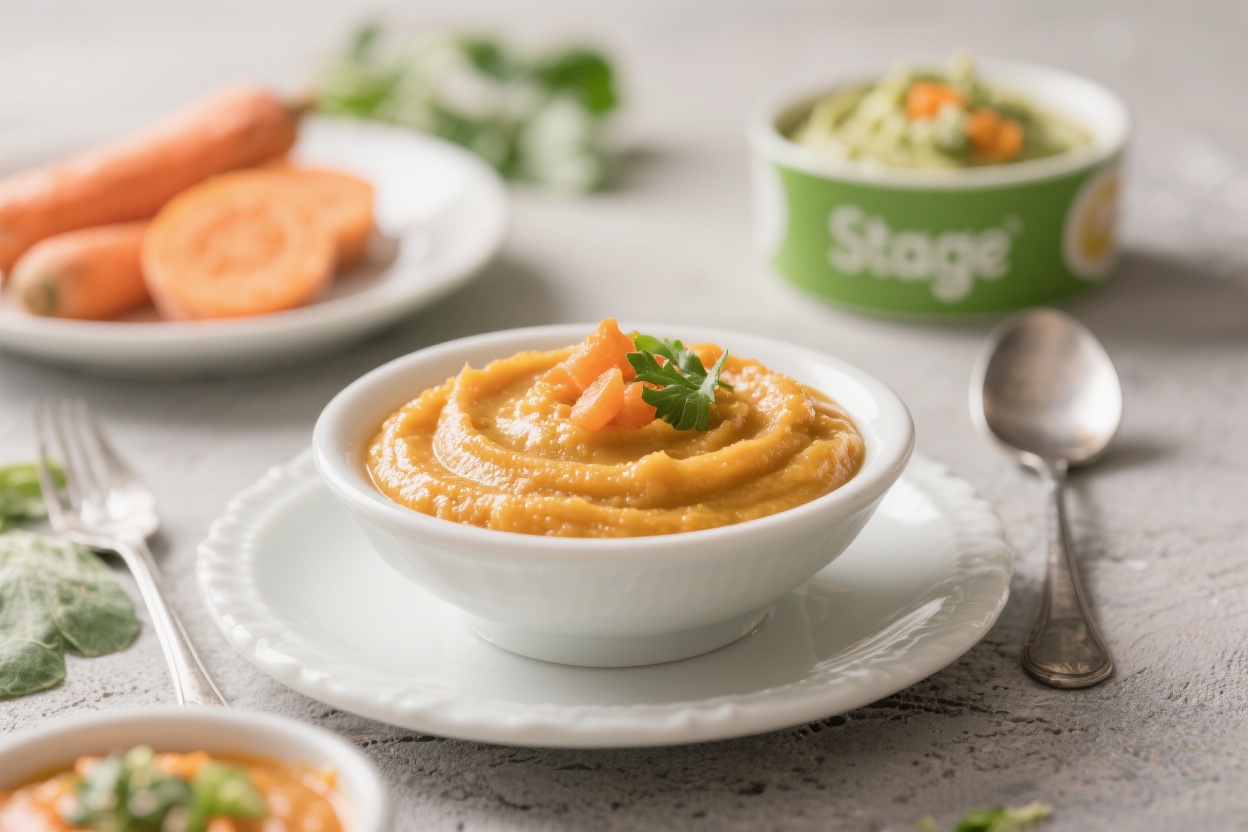
- Stage 1 (around 4–6 months, after pediatrician approval): Sweet potato, carrot, butternut squash, peas, green beans, zucchini, apple, pear, banana, avocado.
- Stage 2 (around 6–8 months): Pumpkin, blueberries, strawberries, peaches, apricots, spinach, kale, cauliflower, broccoli (well-cooked), oats, quinoa, plain full-fat yogurt, lentils.
- Stage 3 (around 8–10+ months): Chickpeas, black beans, chicken, turkey, salmon (boneless, cooked), brown rice, barley, pasta (small shapes), beets, tomato (cooked), onion (cooked), herbs like basil or parsley.
- Healthy fats and liquids: Olive oil, avocado oil, unsalted butter, breast milk, formula, or water for thinning.
- Optional flavor boosters (small amounts): Cinnamon, nutmeg, garlic (cooked), ginger (cooked), lemon zest.
How to Make It

- Pick your base: Choose one or two ingredients suited to your baby’s stage. For first tastes, stick to a single fruit or vegetable.
- Prep the produce: Wash, peel if needed, and cut into even pieces.Remove seeds, cores, and any tough stems.
- Cook until very soft: Steam, roast, or simmer. Most veggies take 10–20 minutes until they mash easily with a fork. Fruit like apples or pears soften in 8–12 minutes; banana and avocado can be served raw and mashed.
- Blend to desired texture: Use a blender, food processor, or stick blender.For Stage 1, add breast milk, formula, or water for a silky texture. For later stages, keep it thicker or slightly chunky.
- Add healthy fat: Stir in a small amount of olive oil, avocado oil, or unsalted butter for extra calories and fat-soluble vitamins. Start with 1/2 to 1 teaspoon per cup of puree.
- Cool and portion: Let it cool, then spoon into small containers or ice cube trays (about 1–2 tablespoons per portion).
- Serve safely: Warm gently if desired.Always test the temperature and watch for any signs of allergies when introducing a new ingredient.
Keeping It Fresh
- Fridge: Store puree in airtight containers for up to 3 days.
- Freezer: Freeze in ice cube trays, then transfer cubes to freezer bags. Label with the name and date. Use within 2–3 months for best taste.
- Thawing: Thaw overnight in the fridge, or reheat from frozen on the stovetop or in a warm water bath.Avoid microwaving in plastic when possible.
- Safety tip: Only reheat what you’ll use. Discard leftovers from the baby’s bowl to prevent bacterial growth.
Benefits of This Recipe
- Supports healthy growth: Iron from lentils, meats, and fortified grains; vitamins A and C from orange and green veggies; healthy fats for brain development.
- Encourages adventurous eating: Gradual exposure to flavors and textures can reduce picky eating later on.
- Budget-friendly: Seasonal produce and batch cooking keep costs low.
- Customizable: Adjust thickness, ingredients, and combos to suit your baby’s stage and preferences.
Common Mistakes to Avoid
- Adding salt or sugar: Babies don’t need them, and salt can strain tiny kidneys.
- Rushing textures: Move from smooth to thicker purees as your baby shows readiness—don’t jump too quickly.
- Skipping iron-rich foods: After 6 months, babies need extra iron. Include lentils, beans, meats, and iron-fortified grains.
- Serving too hot: Always test the temperature before feeding.
- Offering honey before 1 year: Honey can cause botulism in infants under 12 months.
Recipe Variations
- Stage 1 Smooth Purees:
- Sweet Potato Silk: Steam sweet potato and blend with a splash of breast milk.
- Pear Cloud: Steam pear until soft, blend until smooth.
- Avocado Mash: Mash ripe avocado with a little water for a creamy texture.
- Stage 2 Combo Purees:
- Green Goodness: Peas + spinach + a touch of olive oil.
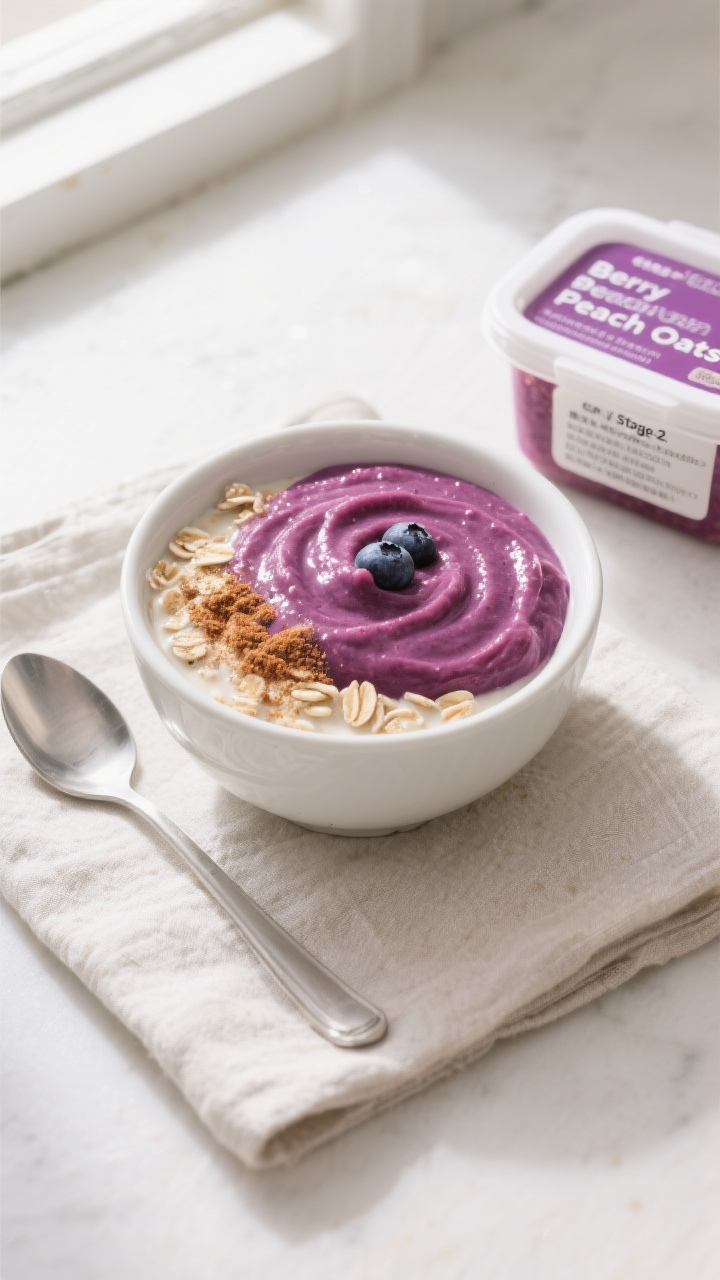
- Berry Peach Oats: Steamed peaches + blueberries + cooked oats, with cinnamon.
- Carrot Apple Ginger: Steamed carrot + apple + a tiny pinch of cooked ginger.
- Stage 3 Heartier Blends:
- Salmon Sweet Potato:
- Bake or steam boneless salmon, mix with sweet potato and a drizzle of olive oil.Blend to a thick mash.
- Chicken Broccoli Rice:
- Cooked chicken + very soft broccoli + brown rice. Add water or broth to loosen and pulse to small pieces.
- Lentil Veggie Medley:
- Red lentils + carrots + tomato (cooked) + basil. Blend to a chunky texture.
- Salmon Sweet Potato:
- Dairy Option (if tolerated): Plain full-fat yogurt swirled into fruit purees for creaminess and probiotics.
- Healthy Fat Boost: Stir in a bit of avocado or nut/seed butters that your pediatrician has cleared and your baby has safely tried.
FAQ
When should I start offering purees?
Most babies are ready around 4–6 months, once they can sit with support, have good head control, and show interest in food.
Check with your pediatrician before starting.
How much should my baby eat at first?
Start with 1–2 teaspoons once a day and follow your baby’s cues. Gradually increase to a few tablespoons, then to two or three small meals as interest grows.
What about allergens like peanut or egg?
Current guidance supports early, safe introduction of common allergens once your baby is ready for solids. Introduce one new allergen at a time in the morning, in small amounts, and watch for reactions.
Always follow your pediatrician’s advice.
How do I know when to move to thicker textures?
When your baby handles smooth purees easily, doesn’t push food out constantly, and shows interest in chewing motions, start offering thicker purees and soft lumps. Aim to progress textures over weeks, not months.
Can I use store-bought purees too?
Yes. They’re convenient, especially when traveling.
Check labels for simple ingredients and no added salt or sugar. Balance with homemade options when you can.
What if my baby makes a face or refuses?
Totally normal. Keep mealtimes relaxed and try again later.
It can take 8–10 tries for a new food to be accepted.
Do I need special equipment?
No. A basic pot with a steamer basket, a blender or stick blender, and ice cube trays for freezing are enough. A silicone baby spoon is helpful for gentle feeding.
Is water or milk best for thinning?
Breast milk or prepared formula adds nutrition and familiar flavor.
Water works too. Add just a little at a time to reach the texture you want.
How do I reheat safely?
Warm on the stove over low heat or in a heat-safe dish set in warm water. Stir well and test the temperature before serving.
If using a microwave, heat briefly, stir thoroughly, and test again.
What textures should I aim for by 9–10 months?
Think thick, slightly lumpy purees or soft mash with tiny pieces. You can also offer soft finger foods alongside, if your baby shows readiness.
Wrapping Up
Healthy baby purees don’t need to be complicated. With a few simple ingredients and a stage-by-stage plan, you can serve meals that are nutritious, tasty, and easy to prep.
Follow your baby’s cues, keep flavors varied, and enjoy the process. You’re building healthy habits—one small spoonful at a time.