Homemade ice cream hits a sweet spot: it’s fresh, customizable, and surprisingly easy to make with an ice cream maker. Whether you’re craving classic vanilla, rich chocolate, or a fruity twist, you can turn a few pantry staples into something special. This guide keeps it simple with a base recipe you can adapt in countless ways.
You’ll learn what makes homemade ice cream so good, how to avoid common mistakes, and how to store it for perfect scoops later. Ready to churn something you’ll actually want seconds of?
Contents
- 1 What Makes This Special
- 2 Shopping List
- 3 Step-by-Step Instructions
- 4 How to Store
- 5 Benefits of This Recipe
- 6 Pitfalls to Watch Out For
- 7 Alternatives
- 8 FAQ
- 8.1 Do I need egg yolks for good ice cream?
- 8.2 Why is my ice cream icy or grainy?
- 8.3 How sweet should the base taste?
- 8.4 Can I reduce the sugar?
- 8.5 How do I get strong vanilla flavor?
- 8.6 When should I add alcohol?
- 8.7 Can I make this without an ice cream maker?
- 8.8 How long should I churn?
- 8.9 What’s the best container for storage?
- 8.10 My freezer makes it rock hard. Any fixes?
- 9 Wrapping Up
What Makes This Special

Homemade ice cream gives you control over texture, sweetness, and flavor. You’re not stuck with stabilizers or artificial flavors.
Instead, you can use real vanilla, melted chocolate, or fresh fruit. It’s also easier than you might think: a basic custard or Philadelphia-style base comes together quickly, and the machine does the rest.
Even better, you can change one base into many variations. Add crushed cookies, swirl in caramel, or fold in berries.
Once you’ve made the base once or twice, you’ll feel confident experimenting.
Shopping List
- Heavy cream (2 cups)
- Whole milk (1 cup)
- Granulated sugar (3/4 cup)
- Kosher salt (a pinch)
- Vanilla extract or vanilla bean (2 teaspoons extract or 1 bean)
- Egg yolks (4) for a custard-style base, optional but recommended for extra creaminess
- Mix-ins (choose your own): chocolate chips, crushed cookies, chopped nuts, caramel sauce, strawberry puree, cocoa powder, espresso powder
Note: For a no-egg (Philadelphia-style) ice cream, omit the yolks and follow the same method without cooking the base.
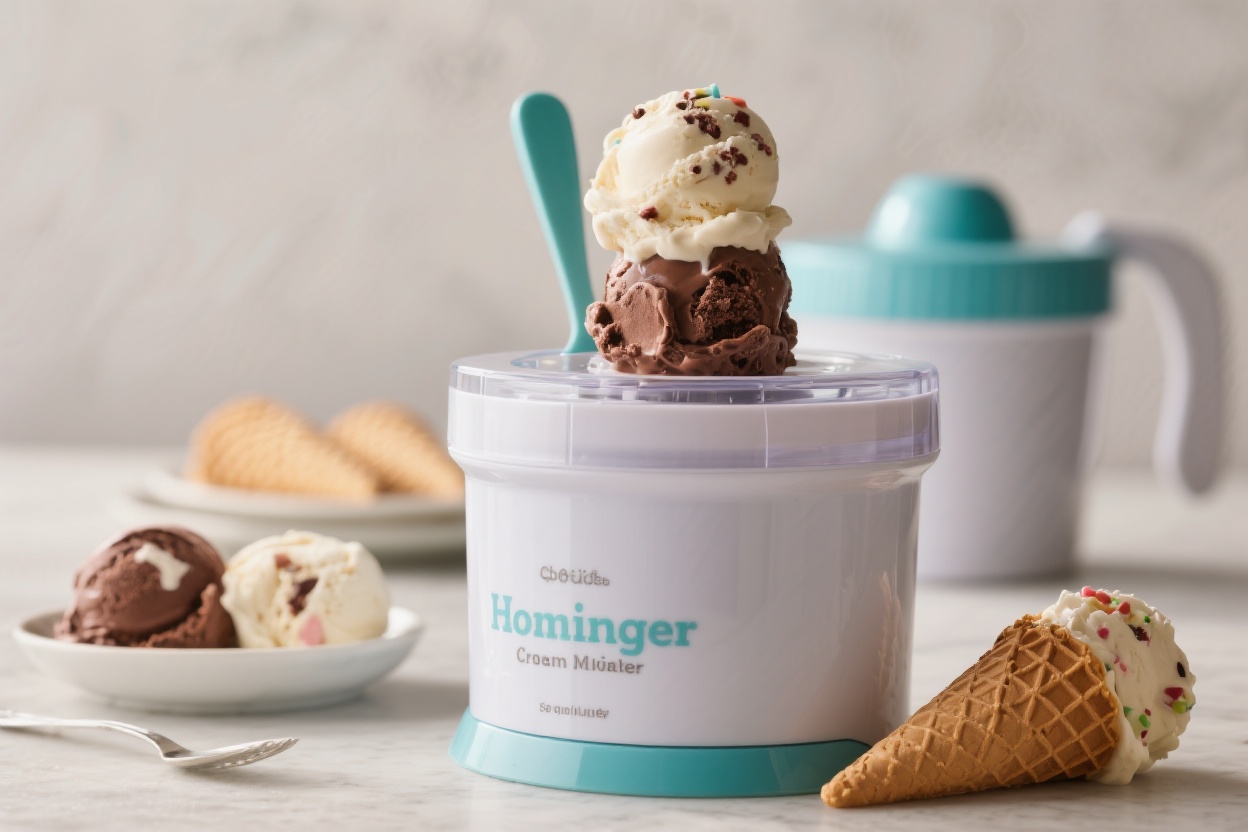
Step-by-Step Instructions
- Chill your equipment. If you’re using a freezer-bowl ice cream maker, freeze the bowl for at least 24 hours. Chill a metal mixing bowl too. Cold tools equal better texture.
- Make the custard base (classic style). In a saucepan, whisk together milk, sugar, and a pinch of salt.Warm over medium heat until steaming, not boiling. In a separate bowl, whisk the egg yolks. Slowly pour in a ladle of warm milk while whisking to temper the eggs.Return the mixture to the saucepan.
- Cook to thicken. Stir constantly over medium-low heat until the custard coats the back of a spoon, about 5–7 minutes. Aim for 170–175°F if using a thermometer. Do not let it boil.
- Finish with cream and vanilla. Remove from heat.Stir in heavy cream and vanilla extract (or scrape in vanilla bean seeds and add the pod to steep). For extra-smooth texture, strain through a fine mesh sieve into a clean bowl.
- Chill thoroughly. Cover and refrigerate the base until very cold, at least 4 hours or overnight. Cold base churns faster and smoother.
- Prepare mix-ins. Chop chocolate, crush cookies, or make fruit puree.Keep add-ins small—about chocolate chip size—so they distribute evenly. Chill mix-ins to avoid melting the base.
- Churn the ice cream. Pour the cold base into your ice cream maker and churn according to the manufacturer’s instructions, usually 15–25 minutes. It should look like soft-serve when done.
- Add mix-ins at the end. In the last 1–2 minutes of churning, add your mix-ins.For swirls (caramel, fudge, or fruit), layer them in as you transfer to the container instead of mixing during the churn.
- Ripen in the freezer. Scoop the churned ice cream into an airtight, freezer-safe container. Press a piece of parchment onto the surface to prevent ice crystals. Freeze for 3–4 hours to firm up.
- Scoop and serve. Let the container sit at room temperature for 5 minutes before scooping.Warm the scoop under hot water for cleaner scoops.
How to Store
Transfer ice cream to a shallow, airtight container. The shallow shape helps it freeze evenly and prevents large ice crystals. Press parchment or plastic wrap directly on the surface before sealing the lid.
Store in the coldest part of your freezer, not in the door.
Homemade ice cream tastes best within 1–2 weeks. If it hardens too much, let it sit out for a few minutes to soften before scooping.
Benefits of This Recipe
- Customizable base: One base, endless flavors—from vanilla bean to mocha fudge ripple.
- No odd ingredients: Simple pantry staples and real flavors.
- Better texture: Custard-style base delivers a rich, scoopable finish.
- Budget-friendly: Gourmet taste without the premium price tag.
- Make-ahead friendly: Churn ahead for parties or weeknight treats.
Pitfalls to Watch Out For
- Warm base going into the machine: If the base isn’t very cold, it won’t churn well and can turn icy. Chill fully.
- Overcooking eggs: Boiling can scramble them.Keep heat low and stir constantly. Strain if needed.
- Too much water in add-ins: Fresh fruit adds water, which can crystallize. Cook fruit into a quick jam or use a thick puree.
- Overfilling the machine: Leave room for expansion.Follow your machine’s max fill line.
- Skipping the ripening step: Freshly churned ice cream is soft. Freezing for a few hours sets the texture.
Alternatives
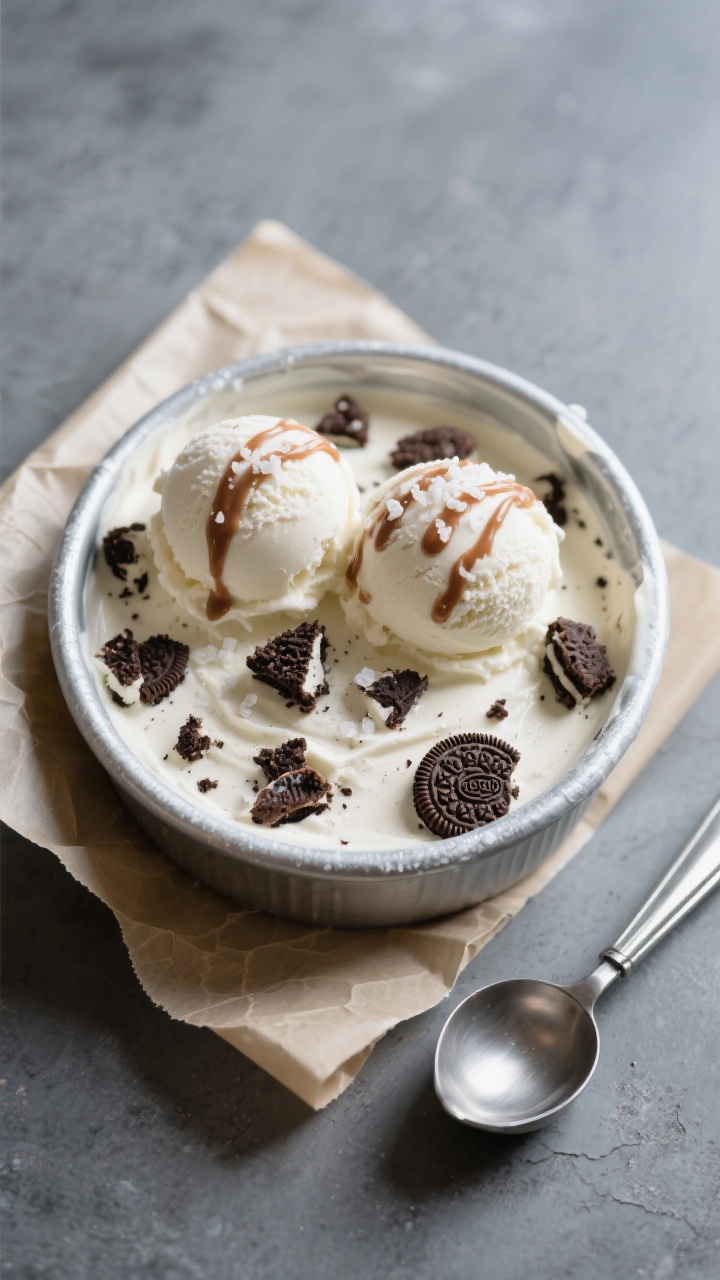
- Philadelphia-style (no eggs): Combine heavy cream, whole milk, sugar, salt, and vanilla. Chill and churn.It’s lighter and faster, though slightly less rich.
- Chocolate base: Whisk 1/2 cup cocoa powder into the warm milk and sugar. For deeper flavor, melt 4 oz chopped dark chocolate into the custard after cooking.
- Strawberry swirl: Simmer 2 cups chopped strawberries with 1/4 cup sugar and a squeeze of lemon until thick. Cool completely and swirl into the churned base.
- Cookies and cream: Fold 1 to 1 1/2 cups crushed chocolate sandwich cookies into the last minute of churning.
- Coffee: Dissolve 1–2 tablespoons espresso powder in the warm milk.Add chocolate chunks for a mocha twist.
- Dairy-free option: Use full-fat coconut milk (2 cans), 1/2 cup sugar, a pinch of salt, and vanilla. Churn as usual. Expect a slightly different texture but great flavor.
FAQ
Do I need egg yolks for good ice cream?
No, but they help.
Yolks create a richer texture and reduce iciness. If you prefer a lighter, faster option, skip them and use the Philadelphia-style method.
Why is my ice cream icy or grainy?
Usually the base wasn’t cold enough, the freezer bowl wasn’t fully frozen, or there was too much water in add-ins. Make sure everything is well chilled and strain the base for smoothness.
How sweet should the base taste?
A bit sweeter than you want the final ice cream.
Cold mutes sweetness, so the flavor will balance once frozen.
Can I reduce the sugar?
You can, but sugar affects texture. Cutting too much can make the ice cream hard and icy. Reduce by 10–15% at most, or add a tablespoon of corn syrup or honey to help maintain softness.
How do I get strong vanilla flavor?
Use a good vanilla extract and add it after cooking.
For extra depth, steep a split vanilla bean pod in the hot custard for 15 minutes, then remove it before chilling.
When should I add alcohol?
Stir in 1–2 tablespoons of spirits (like bourbon or Kahlúa) after the base is cold and just before churning. Alcohol lowers freezing point, keeping scoops softer. Don’t add too much or it won’t set.
Can I make this without an ice cream maker?
Yes.
Chill the base, then freeze in a shallow pan. Stir every 30–45 minutes for 3–4 hours to break up ice crystals. It won’t be as silky as machine-churned, but it’s tasty.
How long should I churn?
Most machines need 15–25 minutes.
Stop when the texture resembles soft-serve and holds gentle peaks. Overchurning can make it dense and buttery.
What’s the best container for storage?
A shallow, wide, airtight container works best. Metal chills faster, but sturdy plastic is fine.
Press parchment on the surface before sealing the lid.
My freezer makes it rock hard. Any fixes?
Let it sit at room temperature for a few minutes before scooping. You can also add a tablespoon of corn syrup or a splash of alcohol to the base to keep it softer.
Wrapping Up
With a handful of ingredients and an ice cream maker, you can create a dessert that tastes fresh, rich, and totally your style.
Start with the classic base, keep everything cold, and don’t rush the chill time. From there, play with flavors and textures until you find your signature scoop. Once you’ve tried it, store a batch in the freezer—you’ll be glad it’s there when the craving hits.
Printable Recipe Card
Want just the essential recipe details without scrolling through the article? Get our printable recipe card with just the ingredients and instructions.