Vanilla bean paste is one of those secret-weapon ingredients that makes desserts taste bakery-level good. It’s rich, fragrant, and dotted with those gorgeous vanilla specks you see in ice cream and pastry cream. Store-bought versions can be pricey, but the homemade version is surprisingly easy and just as delicious.
With a few quality ingredients and a blender, you can make a jar that lasts for months. This guide walks you through exactly how to do it—and how to make it your own.
Contents
- 1 What Makes This Recipe So Good
- 2 Ingredients
- 3 Step-by-Step Instructions
- 4 Keeping It Fresh
- 5 Benefits of This Recipe
- 6 What Not to Do
- 7 Recipe Variations
- 8 FAQ
- 8.1 How do I substitute vanilla bean paste for extract?
- 8.2 Can I use spent vanilla pods from making extract?
- 8.3 Do I need a high-speed blender?
- 8.4 Why add glycerin?
- 8.5 What kind of vanilla beans should I buy?
- 8.6 How thick should the paste be?
- 8.7 Can I freeze vanilla bean paste?
- 8.8 Is this paste safe for kids if it contains alcohol?
- 9 In Conclusion
What Makes This Recipe So Good
- Real vanilla flavor: You’re using whole vanilla beans, which means deep, complex notes that extract alone can’t match.
- Customizable: Adjust sweetness, thickness, and intensity to suit your recipes and taste.
- Economical: A small batch of beans stretches far, especially if you already make your own vanilla extract.
- Beautiful specks: Those little seeds add a visual cue that says “made from real vanilla.”
- Versatile: Use it in cookies, cakes, custards, pancakes, coffee, and more.
Ingredients
- 6–8 whole vanilla beans (Grade B beans are great for paste; Grade A also works)
- 1/2 cup granulated sugar (or use light brown sugar for a caramel note)
- 1/2 cup water
- 2 tablespoons vanilla extract (homemade or store-bought)
- 1 teaspoon glycerin (optional, for smooth texture and shine)
- Pinch of fine sea salt (optional, to round out flavor)
Step-by-Step Instructions
- Prep the beans: Lay each vanilla bean flat. Using a sharp knife, split it lengthwise.Scrape out the seeds (the “caviar”) with the back of the knife. Don’t toss the pods—you’ll use them too.
- Make a simple syrup: In a small saucepan, combine sugar and water. Bring to a gentle simmer over medium heat, stirring until the sugar dissolves.Let it bubble for 2–3 minutes, then remove from heat.
- Add vanilla: Stir the vanilla seeds and the split pods into the warm syrup. Add the pinch of salt if using. Cover and let it steep for 20–30 minutes to extract maximum flavor.
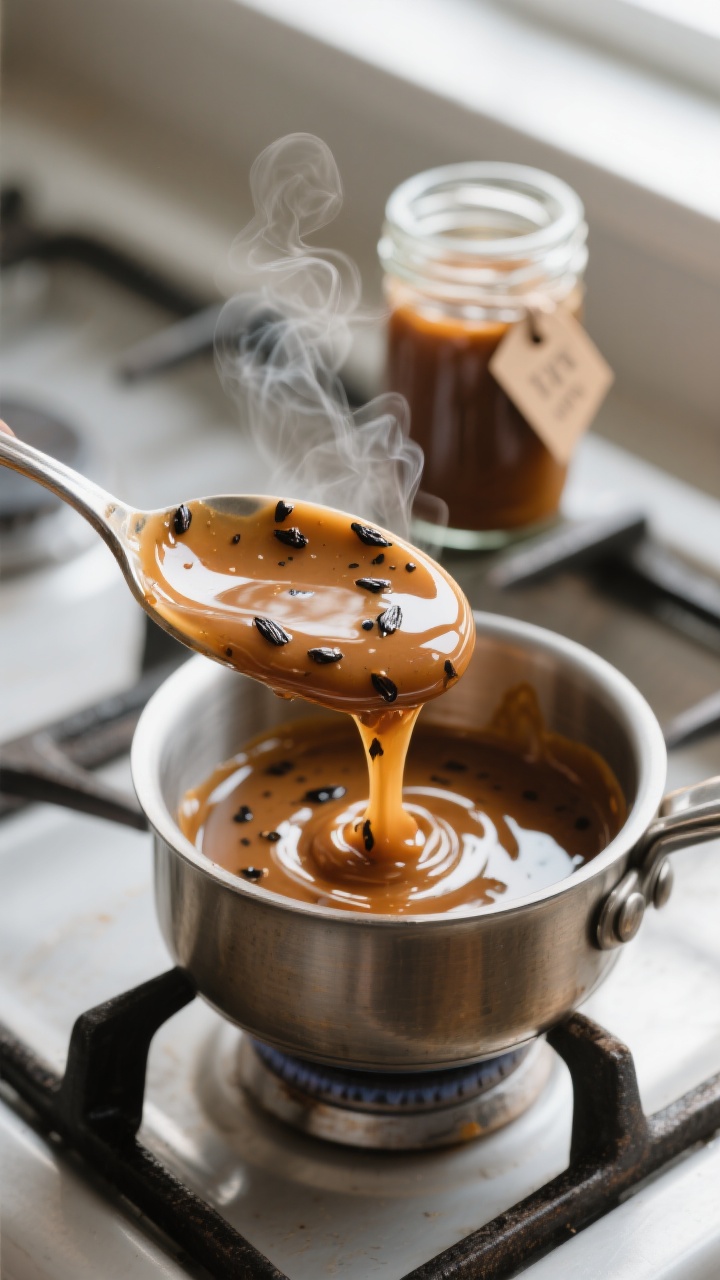
- Blend it smooth: Remove the pods.Add the syrup and seeds to a high-speed blender. Cut the pods into small pieces with kitchen scissors and add those too. Blend until the mixture looks as smooth as possible.
This helps break down the pods for a thicker, more robust paste.
- Strain or don’t—your call: For a smoother paste, press the mixture through a fine-mesh strainer. For a rustic, extra-potent paste, skip straining and keep all the tiny pod fibers.
- Adjust thickness: Return the paste to the saucepan and gently cook over low heat for 3–8 minutes to reduce, stirring often. You’re aiming for the texture of loose honey.It will thicken more as it cools.
- Finish with extract and glycerin: Remove from heat. Stir in vanilla extract and glycerin. Taste and adjust sweetness or intensity if needed (a splash more extract for bolder flavor, or a teaspoon of sugar if you prefer it sweeter).
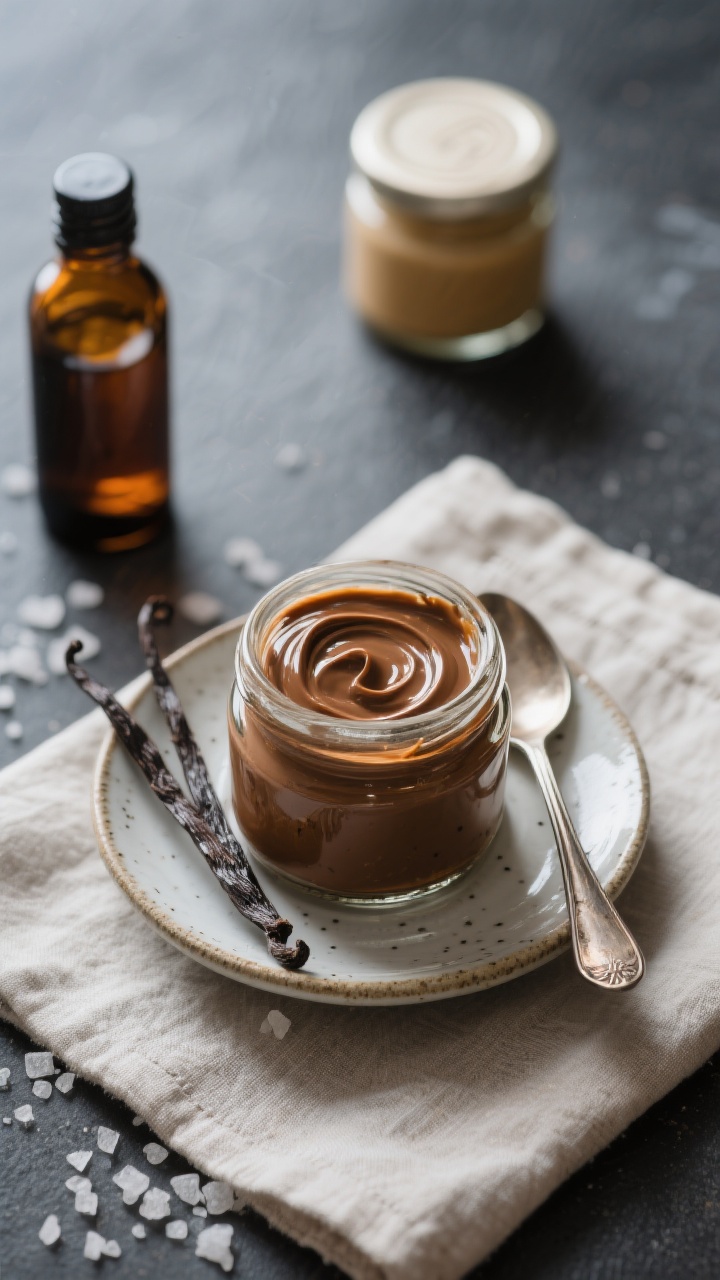
- Cool and store: Let the paste cool completely.Transfer to a clean, airtight glass jar. Label with the date.
Keeping It Fresh
- Storage: Keep your vanilla bean paste in a sealed glass jar in a cool, dark spot or the fridge. The fridge helps preserve aroma longer.
- Shelf life: Typically 6 months in the pantry or up to 12 months refrigerated, thanks to sugar, extract, and glycerin acting as preservatives.
- Stir before using: Natural settling is normal.Give it a quick stir or shake to redistribute the seeds.
- Watch for spoilage: If you notice off smells, mold, or separation that doesn’t combine with stirring, discard and make a fresh batch.
Benefits of This Recipe
- Cleaner ingredients: No stabilizers or artificial flavors—just real vanilla and simple pantry staples.
- Flavor control: Decide exactly how sweet, thick, or intense you want it.
- Cost savings: Cheaper than premium store-bought paste, especially if you buy vanilla beans in bulk.
- Waste not: Uses the whole bean—pods and seeds—for maximum extraction and minimal waste.
- Recipe-ready: One teaspoon delivers both flavor and those signature specks.
What Not to Do
- Don’t boil hard or scorch: High heat can dull the delicate vanilla aroma and turn the paste bitter.
- Don’t skip steeping: That short rest pulls more flavor from the beans and pods.
- Don’t use dry, brittle beans: Old beans are weak and crumbly. Choose pliable, fragrant ones.
- Don’t over-thicken: If it reduces too much, it can become tacky and tough to measure. Aim for pourable, not gummy.
- Don’t store in plastic: Vanilla aromas can leach into plastic.Glass jars keep flavor true.
Recipe Variations
- Honey-sweetened: Swap sugar and water for 3/4 cup mild honey. Warm gently, then proceed. Expect a floral note and slightly looser texture.
- Brown sugar caramel: Use light brown sugar for a toffee-like depth.Great for chocolate chip cookies and banana bread.
- Alcohol-free: Skip the vanilla extract and add 1 extra bean plus 1 more teaspoon glycerin. Steep an extra 15 minutes for intensity.
- Maple vanilla: Replace sugar with 1/2 cup maple syrup. Lovely in pancakes, French toast, and oatmeal.
- Citrus-kissed: Add 1–2 strips of lemon or orange zest during steeping.Remove before blending. Bright and bakery-style.
FAQ
How do I substitute vanilla bean paste for extract?
Use a 1:1 swap by volume. One teaspoon of vanilla bean paste equals one teaspoon of vanilla extract.
You’ll also get visible vanilla specks, which is a bonus in custards, ice cream, and frostings.
Can I use spent vanilla pods from making extract?
Yes. Spent pods still have flavor. Combine them with a few fresh beans to boost intensity, and steep a little longer.
You may need a touch more extract to round out the aroma.
Do I need a high-speed blender?
It helps, but it’s not required. A regular blender or food processor works. If the paste feels too fibrous, strain it through a fine-mesh sieve or reduce a bit longer for a smoother finish.
Why add glycerin?
Glycerin adds a glossy texture, helps keep the paste soft, and slightly extends shelf life.
Food-grade vegetable glycerin is widely available, but you can omit it if you prefer.
What kind of vanilla beans should I buy?
Grade B beans are ideal for paste and extracts because they’re drier and more concentrated, and usually cheaper. Grade A beans are plumper and great too—use what you can find. Madagascar (bourbon) beans are classic, while Tahitian beans are more floral.
How thick should the paste be?
Think loose honey or thick syrup.
It should pour slowly from a spoon but not run like water. If it’s too thick, whisk in a teaspoon or two of warm water or extract.
Can I freeze vanilla bean paste?
Freezing isn’t necessary and can change the texture. It keeps well in the fridge for months.
If you must freeze, portion into small containers and thaw gently in the fridge.
Is this paste safe for kids if it contains alcohol?
Most of the alcohol comes from the added extract and is minimal per serving. If you want to avoid it completely, use the alcohol-free variation and steep longer to build flavor.
In Conclusion
Homemade vanilla bean paste is simple, budget-friendly, and incredibly versatile. With a handful of beans and a quick simmer-and-blend method, you’ll have a jar of pure vanilla goodness ready for everyday baking.
Keep it in the fridge, stir before using, and enjoy the rich flavor and beautiful specks in everything from whipped cream to pancakes. Once you try it, you’ll wonder how you ever baked without it.
Printable Recipe Card
Want just the essential recipe details without scrolling through the article? Get our printable recipe card with just the ingredients and instructions.