This protein milkshake is a quick way to recharge after a workout or power through a busy morning. It’s creamy, naturally sweet, and hits that sweet spot between dessert and fuel. You don’t need fancy ingredients or a blender the size of a rocket ship—just a few basics and five minutes.
Whether you’re lifting, running, or just tired, this shake delivers steady energy and helps your muscles recover. Plus, it tastes like a treat without the crash.
Contents
- 1 Why This Recipe Works
- 2 What You’ll Need
- 3 How to Make It
- 4 Storage Instructions
- 5 Why This Is Good for You
- 6 What Not to Do
- 7 Recipe Variations
- 8 FAQ
- 8.1 Is whey or plant-based protein better for this?
- 8.2 Can I make it without banana?
- 8.3 When should I drink this for best results?
- 8.4 How much protein should I aim for?
- 8.5 Can I use water instead of milk?
- 8.6 Will this help with weight management?
- 8.7 What if I don’t have a high-powered blender?
- 8.8 Can I add creatine or collagen?
- 9 In Conclusion
Why This Recipe Works
This shake is built on the right balance of protein, carbs, and healthy fats. Protein supports muscle repair, while carbs help refill energy stores.
A little fat keeps you satisfied longer and smooths out the texture.
The frozen banana thickens the shake and adds natural sweetness, so you don’t need added sugar. Cocoa powder and vanilla bring milkshake flavor without the heavy cream. It blends quickly, digests well, and keeps you feeling steady instead of spiking your energy and dropping you later.
What You’ll Need
- 1 cup milk (dairy or unsweetened almond, soy, or oat milk)
- 1 scoop protein powder (whey or plant-based; vanilla or chocolate work best)
- 1 small frozen banana (or 1 cup frozen cauliflower rice for a lower-sugar option)
- 1 tablespoon nut butter (peanut, almond, or cashew) or 1 tablespoon tahini for a sesame twist
- 1–2 teaspoons unsweetened cocoa powder (optional but great for chocolate flavor)
- 1/2 teaspoon vanilla extract
- 1/8 teaspoon cinnamon (optional; adds warmth and helps balance sweetness)
- Pinch of salt (enhances flavor)
- 4–6 ice cubes (more for extra thickness)
- Optional add-ins: 1 tablespoon chia or ground flaxseed, a shot of espresso, a handful of oats, or a few dates for extra carbs
How to Make It

- Chill your glass. Pop a glass in the freezer while you blend.This keeps the shake frosty and satisfying.
- Add liquids first. Pour the milk into the blender. This helps the blades catch everything and prevents clumping.
- Add protein and flavor. Drop in the protein powder, cocoa, vanilla, cinnamon, and a small pinch of salt.
- Add the creaminess. Add the frozen banana and nut butter. These give the shake body and a smooth texture.
- Finish with ice. Add 4–6 ice cubes.If you want an extra-thick shake, use more ice or a little less milk.
- Blend until smooth. Start low, then increase to high for 30–45 seconds. Scrape down the sides if needed. The texture should be thick and pourable.
- Taste and adjust. For more sweetness, add half a date or a splash of milk.For more chocolate, add another teaspoon of cocoa.
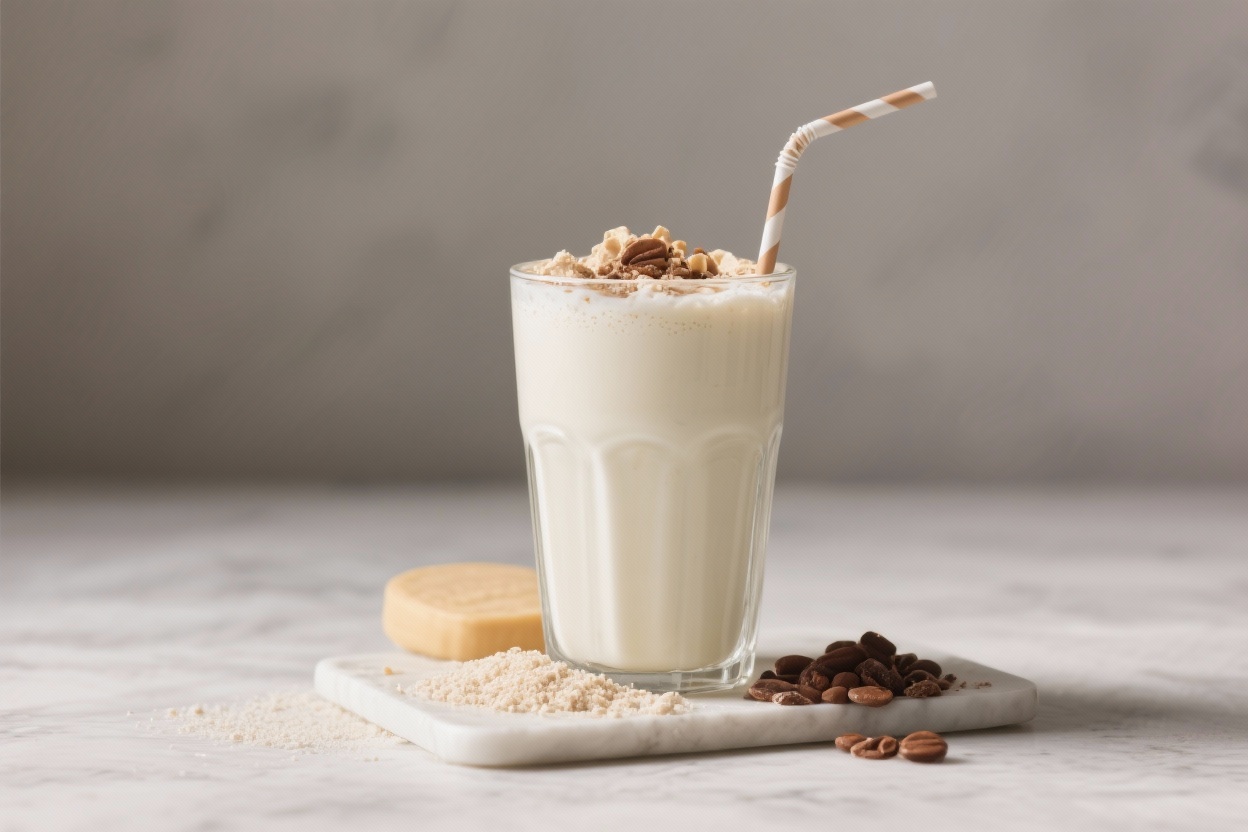
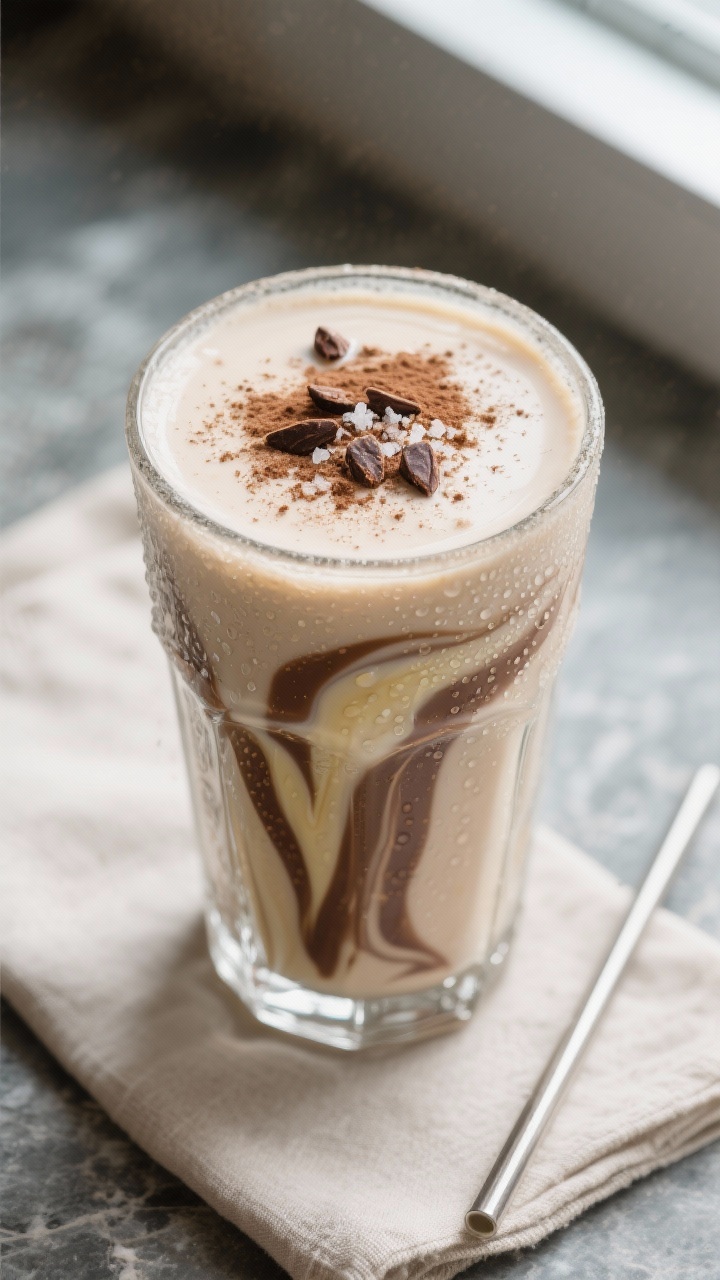
- Serve immediately. Pour into the chilled glass. Top with a light dusting of cocoa or a few cacao nibs if you like crunch.
Storage Instructions
This shake is best right after blending. The texture is at its peak and the ice keeps it frosty.
If you need to prep ahead, refrigerate in a sealed jar for up to 24 hours.
Shake or reblend before drinking, as separation is normal. If it thickens too much, loosen it with a splash of milk. Avoid freezing the blended shake; it can turn icy and grainy when thawed.
Why This Is Good for You
- Protein for recovery: A scoop of whey or plant protein supplies the amino acids your muscles need after training.
- Carbs for energy: The banana (or oats, if you add them) helps restock glycogen so you’re not dragging later.
- Healthy fats for satisfaction: Nut butter or seeds help keep you full and support hormone health.
- Electrolyte support: A small pinch of salt can help replace sodium lost in sweat and improve flavor.
- Low added sugar: Sweetness comes mainly from fruit, so you avoid the sugar crash that can come with syrups.
What Not to Do
- Don’t skip protein. Without enough protein, this becomes a dessert smoothie, not a recovery shake.
- Don’t overdo sweeteners. Too many dates, syrups, or sweetened milks can cause energy spikes and crashes.
- Don’t add boiling-hot ingredients. Hot coffee or espresso can melt the ice and turn the shake thin and watery.Let it cool first.
- Don’t use only water unless you must. Water thins the texture and can make the shake taste flat. If you need fewer calories, use unsweetened almond milk.
- Don’t ignore your protein powder label. Some powders are already sweetened or flavored—adjust cocoa and sweeteners accordingly.
Recipe Variations
- Mocha Power Shake: Add a cooled shot of espresso and an extra teaspoon of cocoa. Great for morning workouts or long days.
- Berry Recovery Shake: Swap the banana for 1 cup frozen mixed berries.Use vanilla protein and a touch of honey if needed.
- Green Protein Shake: Add a handful of baby spinach and a squeeze of lemon. The flavor stays mild, and you get extra micronutrients.
- Peanut Butter Cup: Chocolate protein, peanut butter, and a few cacao nibs. Sprinkle a tiny pinch of flaky salt on top.
- Low-Sugar Creamy Shake: Use frozen cauliflower rice instead of banana, add a few ice cubes, and include 1–2 dates only if needed.
- Oats and Cinnamon: Add 2–3 tablespoons quick oats and a little extra cinnamon for a heartier, breakfast-style shake.
- Dairy-Free Gut-Friendly: Use almond or soy milk, plant protein, and add 1 tablespoon ground flaxseed for fiber.
FAQ
Is whey or plant-based protein better for this?
Both work.
Whey blends easily and has a complete amino acid profile, which is great for recovery. Plant-based powders (pea, soy, or blends) are excellent if you avoid dairy; just choose a brand that blends smoothly and isn’t overly gritty.
Can I make it without banana?
Yes. Use 1 cup frozen cauliflower rice or 3/4 cup ice, and add a date or a small splash of maple syrup if you want a touch of sweetness.
You’ll still get a thick, creamy texture without the extra sugar.
When should I drink this for best results?
Within 60 minutes after a workout is a sweet spot for recovery. If you’re using it as a meal, enjoy it in the morning or at lunch and pair it with some fruit or a slice of toast if you need extra carbs.
How much protein should I aim for?
Most people do well with 20–35 grams of protein per shake, depending on body size and training intensity. Check your protein powder’s label and adjust the scoop size accordingly.
Can I use water instead of milk?
You can, but the shake will be thinner and less creamy.
If you’re keeping calories low, unsweetened almond milk is a better compromise and tastes closer to a classic milkshake.
Will this help with weight management?
It can. A high-protein, balanced shake keeps you full and supports lean muscle. Just watch add-ins like extra nut butter or sweeteners, which can bump up calories quickly.
What if I don’t have a high-powered blender?
No problem.
Slice the banana before freezing, use smaller ice cubes, and blend a little longer. Start with liquids, then powders, then frozen items for the smoothest result.
Can I add creatine or collagen?
Yes. Creatine (3–5 grams) mixes well and can support strength and recovery.
Collagen adds extra protein for joints and skin but doesn’t replace a complete protein powder, so use it alongside your main scoop.
In Conclusion
This protein milkshake is simple, flexible, and reliable. It delivers the right mix of protein, carbs, and fats for steady energy and quick recovery, and it tastes like something you’d actually look forward to. Keep the base recipe in your back pocket, then tweak the flavors to match your day.
In five minutes, you can go from tired to ready—without the sugar crash.
Printable Recipe Card
Want just the essential recipe details without scrolling through the article? Get our printable recipe card with just the ingredients and instructions.