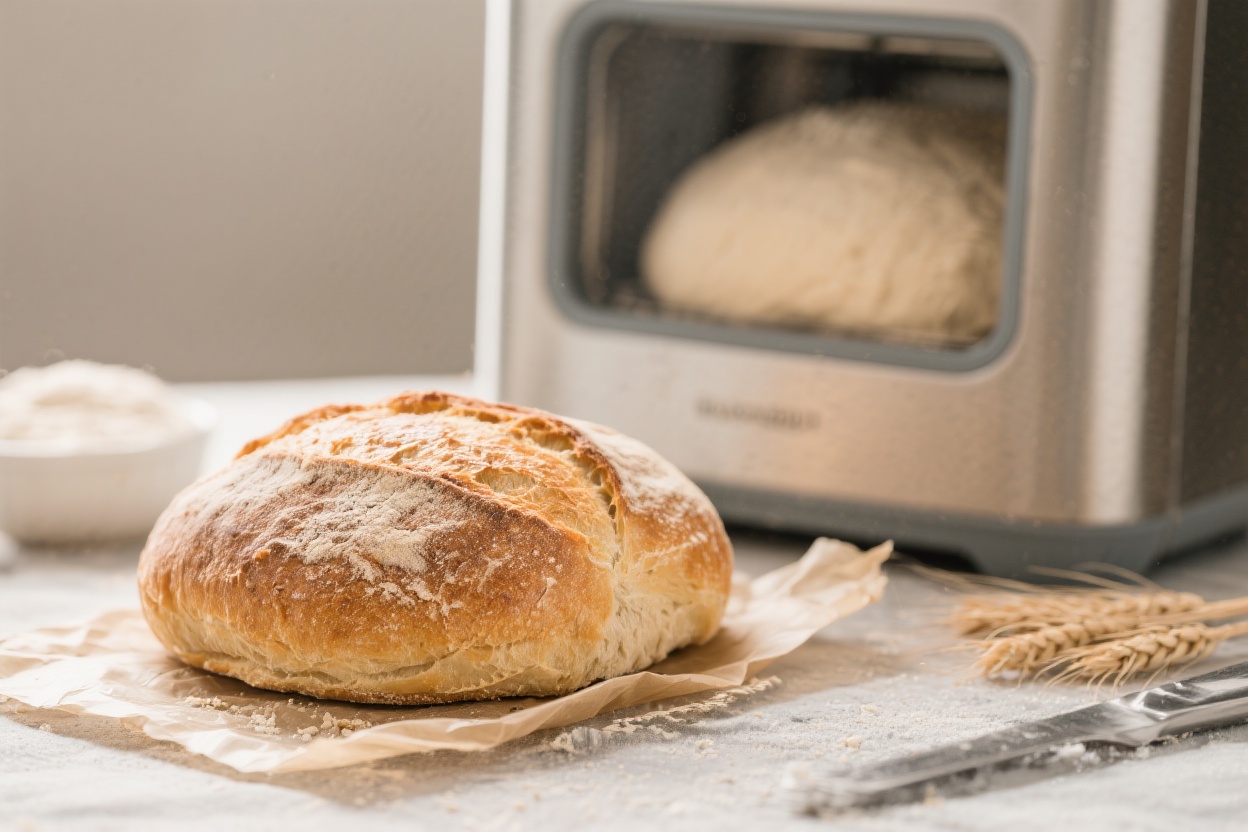
If you’re curious about sourdough but don’t want a steep learning curve, this bread machine recipe is the perfect starter. You’ll get that classic tang and chewy texture with almost no hands-on kneading. The machine does the heavy lifting, and you still enjoy the aroma of fresh-baked bread at home.
This recipe balances simplicity with flavor, so you can succeed on your first try. You’ll also learn what to avoid, how to store it, and a few fun twists to try next time.
Contents
What Makes This Recipe So Good
- Beginner-friendly: Clear steps and predictable results, even if you’ve never baked sourdough.
- Real sourdough flavor: Uses active starter for that gentle tang and tender crumb.
- Minimal effort: The bread machine handles mixing, kneading, and baking.
- Flexible timing: A longer rise gives better flavor, and the dough cycle lets you control it.
- Reliable texture: Moist, sliceable loaf that works for sandwiches or toast.
What You’ll Need
- Active sourdough starter: 1/2 cup (120 g), bubbly and recently fed (6–12 hours after feeding works best).
- Warm water: 3/4 cup to 1 cup (180–240 ml), around 80–90°F (27–32°C). Start lower; add more as needed.
- Bread flour: 2 3/4 cups (330 g).All-purpose can work, but bread flour gives better structure.
- Whole wheat flour (optional): 1/4 cup (30 g) for extra flavor and fiber. Replace equal bread flour if using.
- Salt: 1 1/2 teaspoons (9 g).
- Sugar or honey: 1 tablespoon (12 g) to help browning and balance acidity.
- Olive oil or unsalted butter: 1 tablespoon (15 ml), for softness and flavor.
- Instant yeast (optional but recommended for beginners): 1/2 teaspoon. This is a “hybrid” sourdough to ensure rise in a bread machine.
- Bread machine: With dough and basic/white cycles; a sourdough cycle is a bonus but not required.
Instructions
- Check your starter: It should be bubbly, slightly domed, and smell pleasantly tangy.If it’s sluggish, feed it and wait until it’s active before using.
- Add liquids first: Pour 3/4 cup warm water, olive oil (or butter), and sourdough starter into the bread pan.
- Add dry ingredients: Add bread flour (and whole wheat flour if using), sugar or honey, and salt. Make a small well on top and add instant yeast if using. Keep yeast away from direct contact with salt.
- Start the dough cycle: Select the dough program.Let the machine mix for 5–10 minutes, then lift the lid and check the dough.
- Adjust hydration: The dough should form a soft, slightly tacky ball that clears the sides. If it’s dry or crumbly, add water 1 teaspoon at a time. If it’s too sticky and smears along the pan, add 1 teaspoon flour at a time.Small tweaks make a big difference.
- Let the dough cycle finish: When it ends, your dough should be smooth and elastic. If your machine offers an extended rise on the dough cycle, allow it, especially for better sourdough flavor.
- Extended proof (recommended): Leave the dough in the pan for an extra 30–60 minutes after the dough cycle, or until it’s about 1.5 times its size. Sourdough likes a slightly warmer spot, ideally 75–80°F (24–27°C).
- Shape or bake in the machine: For pure convenience, proceed to baking in the machine.If you prefer a taller dome and tighter crumb, gently deflate, shape into a smooth log, return to the pan, and let it proof 30–45 minutes more.
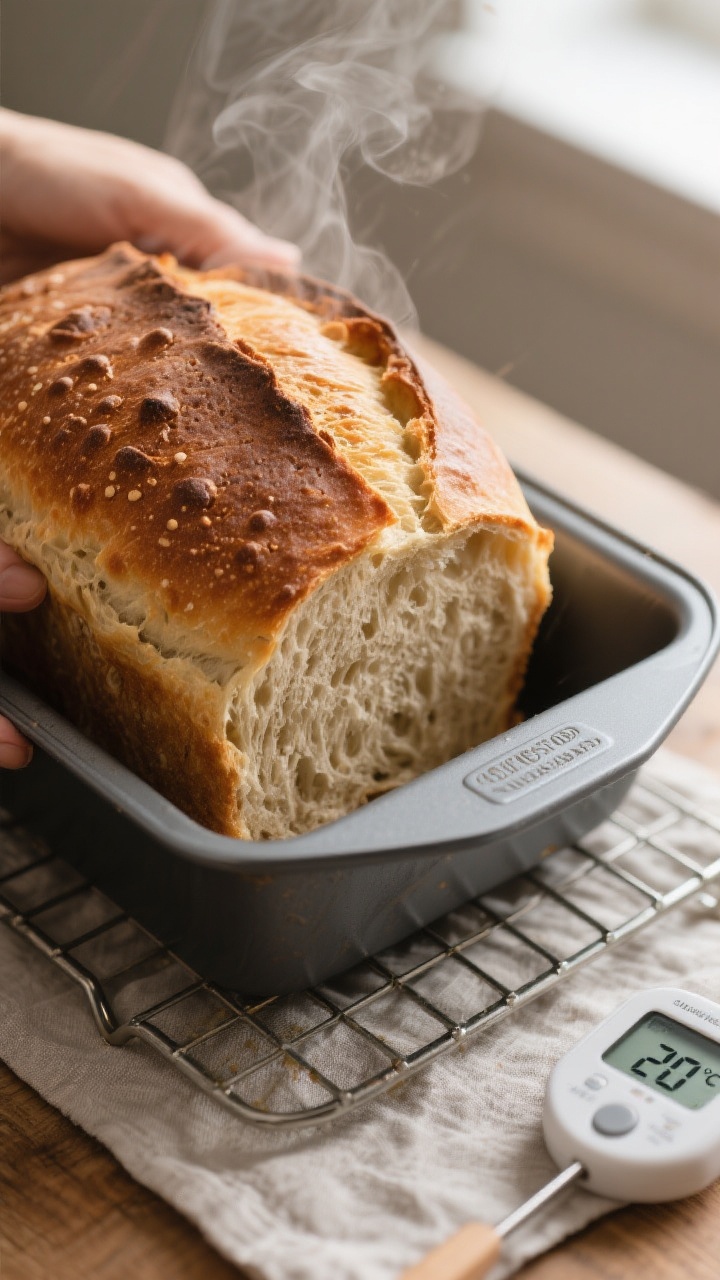
- Bake: Choose the basic/white bake cycle with a medium crust. Many machines let you select “Bake Only” for 50–60 minutes. If using a full program instead of dough + bake, choose basic/white and medium crust from the start and keep an eye on proofing.
- Check doneness: The loaf should be well-browned and sound hollow when tapped.Internal temperature should reach about 200–205°F (93–96°C).
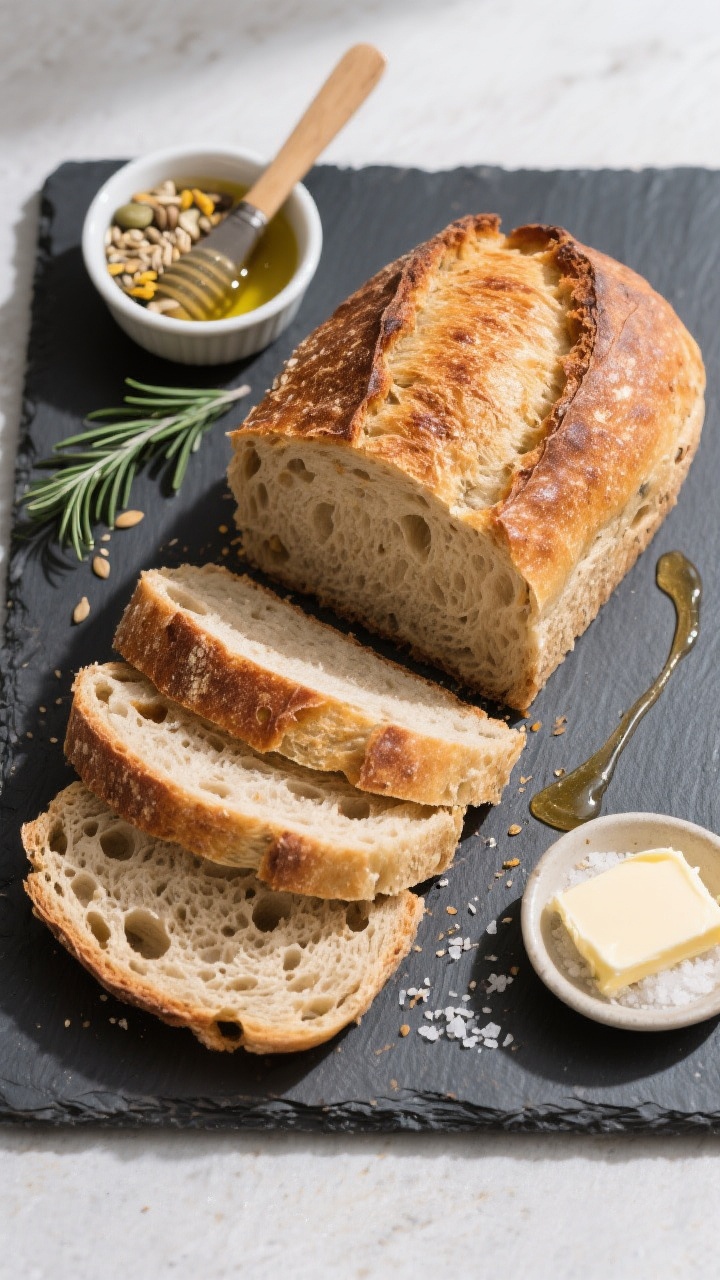
- Cool completely: Remove the loaf and cool on a rack at least 1 hour before slicing. This sets the crumb and prevents gumminess.
Keeping It Fresh
- Room temperature: Store in a bread box or wrapped in a clean kitchen towel for up to 2 days. Avoid airtight plastic at room temp; it softens the crust.
- Short-term: For 3–4 days, store in a paper bag inside a loose plastic bag.This balances moisture and crust.
- Freezing: Slice, then freeze in a zip-top bag for up to 2 months. Toast straight from frozen.
- Revive the crust: Warm slices in a 350°F (175°C) oven for 5–8 minutes to crisp up.
Health Benefits
- Gentler on digestion: Natural fermentation can make gluten and carbs easier to handle for some people.
- Better nutrient absorption: Sourdough fermentation may reduce phytates, helping your body access minerals in the flour.
- Steadier energy: Sourdough’s fermentation can lead to a lower glycemic response compared to standard white bread.
- Fewer additives: Homemade bread means a short ingredient list and no preservatives.
What Not to Do
- Don’t use inactive starter: A flat or sour-smelling-only starter without bubbles won’t lift your loaf.
- Don’t overload with whole wheat: More than 25–30% can make the loaf dense unless you increase hydration and proofing time.
- Don’t skip hydration checks: Bread machines vary. Adjust water or flour during mixing for best texture.
- Don’t rush cooling: Cutting hot bread compresses the crumb and makes it gummy.
- Don’t let salt touch yeast directly: It can weaken yeast activity.Keep them separate until mixing starts.
Recipe Variations
- Seeded Sourdough: Add 2–3 tablespoons mixed seeds (sunflower, sesame, flax) in the last 5 minutes of kneading.
- Herb and Olive Oil: Mix in 1 tablespoon chopped fresh rosemary and swap olive oil for butter.
- Garlic Parmesan: Add 1 teaspoon garlic powder and 1/3 cup finely grated Parmesan near the end of the knead.
- Honey Wheat: Use 1/2 cup whole wheat flour, add 1 extra tablespoon honey, and increase water by 1–2 tablespoons if needed.
- No-Yeast Version: Skip the instant yeast and extend the rise. Use the dough cycle, then leave the dough to proof in the pan 1–2 hours more, or until puffy. Bake when it reaches about 1.5–2 times its size.
FAQ
Can I make this without instant yeast?
Yes.
You’ll rely entirely on your sourdough starter. Use the dough cycle, then allow a longer proof in the pan—often 1–2 hours more, depending on temperature and starter strength. Bake once the dough looks puffy and has risen noticeably.
What if my bread collapses?
It likely overproofed or had too much water.
Next time, shorten the final rise, reduce hydration slightly, or add a touch more flour during mixing. Also check that your starter is active and your salt measurement is correct.
Why is my loaf dense?
Common causes are underproofing, inactive starter, or not enough water. Make sure your dough feels soft and slightly tacky, and let it rise until it increases by at least 50% before baking.
Using a small amount of instant yeast helps beginners avoid dense loaves.
Can I use all-purpose flour?
Yes, but the crumb may be a bit softer and less tall. If using all-purpose, hold back a tablespoon or two of water at first, then add as needed to reach a soft, elastic dough.
When should I add mix-ins like nuts or dried fruit?
Add them during the last 5 minutes of kneading on the dough cycle. If added earlier, they can tear the gluten network and affect the rise.
How do I know my starter is ready?
It should double after feeding, look bubbly and airy, and pass the “float test” (a small spoonful floats in water).
The smell should be pleasantly tangy, not sharply acidic or nail-polish-like.
Can I bake the dough in the oven instead?
Absolutely. After the dough cycle and final proof in a loaf pan, bake at 375°F (190°C) for 35–40 minutes until golden and 200–205°F inside. For a crisper crust, place a small tray of hot water on the oven’s bottom rack during the first 10 minutes.
Wrapping Up
This sourdough bread machine recipe gives you the best of both worlds: real sourdough character with easy, consistent results.
Keep your starter lively, watch the dough texture, and let the proofing guide you rather than the clock. Once you’re comfortable, try a no-yeast version or play with seeds and herbs. With a few bakes under your belt, you’ll have a house favorite that’s simple, wholesome, and always welcome on the table.
Printable Recipe Card
Want just the essential recipe details without scrolling through the article? Get our printable recipe card with just the ingredients and instructions.