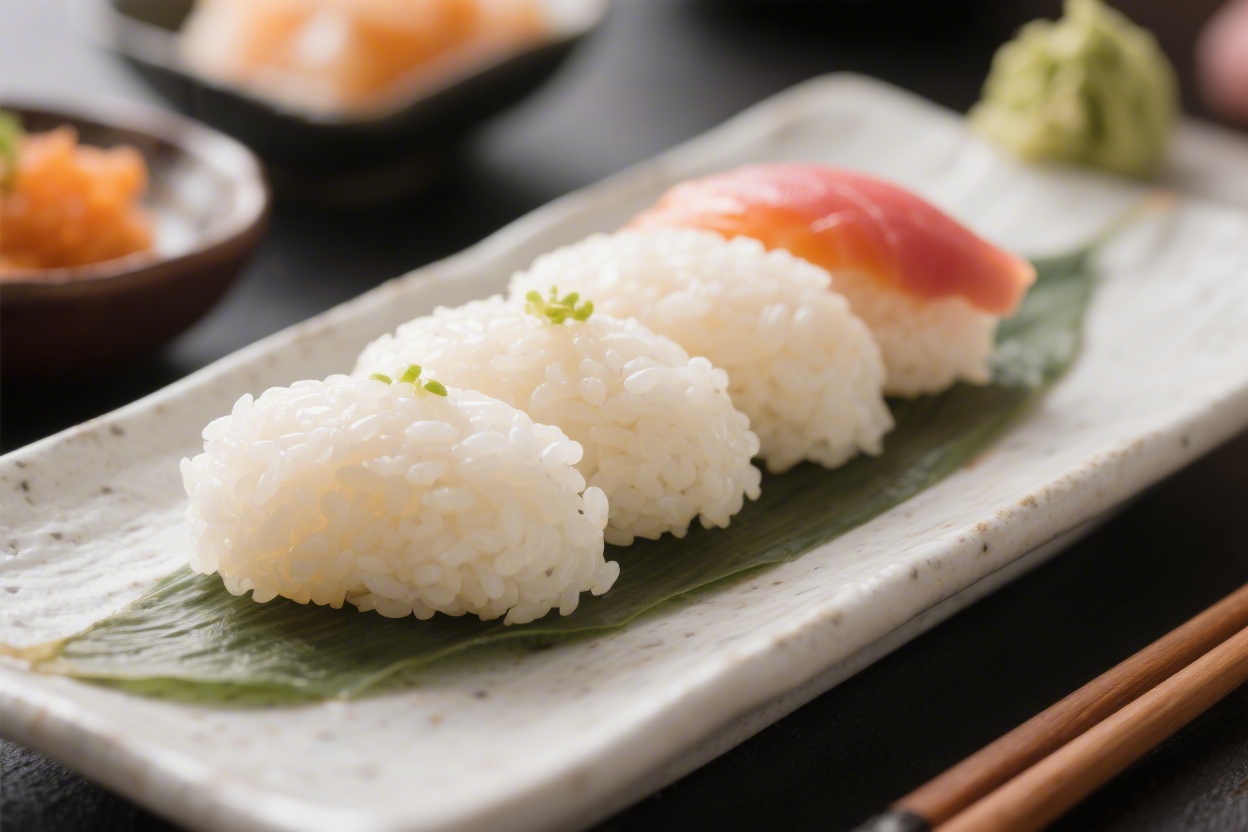
If your sushi never quite sticks together or the grains turn mushy, you’re not alone. Great sushi starts with great rice, and it’s easier than you might think. This recipe walks you through the exact steps to get glossy, tender, perfectly sticky sushi rice at home every time.
You’ll learn the right rice-to-water ratio, how to season it, and little tricks to avoid clumps. With a few tools and a bit of patience, you’ll be rolling maki, shaping nigiri, and spooning chirashi like a pro.
Contents
What Makes This Recipe So Good
- Balanced seasoning: The vinegar mix is light and bright, enhancing the rice without overpowering it.
- Dependable texture: Rinsing and soaking steps give you separate yet sticky grains, not mushy rice.
- Clear ratios: Simple, consistent measurements mean fewer surprises.
- Beginner-friendly method: No specialized rice cooker required—though it helps if you have one.
- Helpful cues: Visual and time cues make it easy to follow, even on your first try.
What You’ll Need
- Short-grain Japanese rice (sushi rice or Japonica): 2 cups (uncooked)
- Water: 2 cups for cooking (plus extra for rinsing and soaking)
- Rice vinegar: 1/4 cup
- Sugar: 2 tablespoons
- Salt: 1 to 1½ teaspoons (use fine sea salt if possible)
- Kombu (optional): 1 small piece (about 2×2 inches) for extra umami
- Neutral oil (optional): a drop to reduce foam if stovetop cooking
Helpful Tools
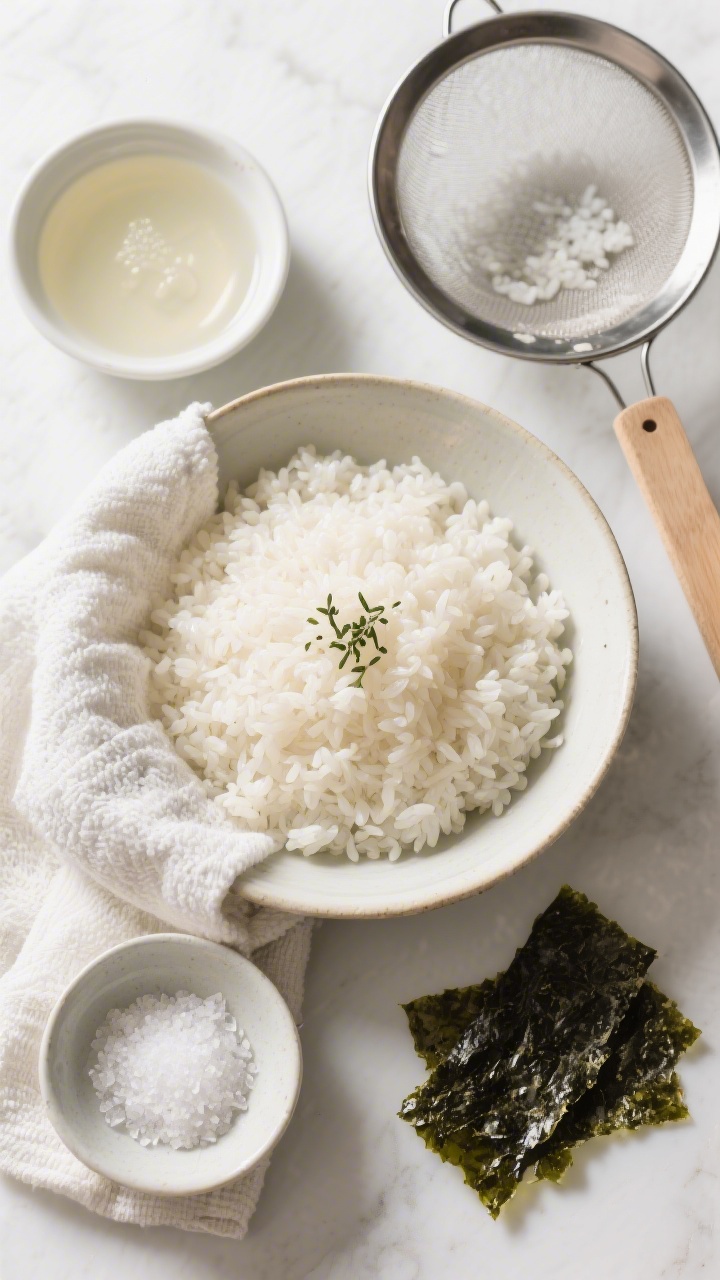
- Fine-mesh strainer
- Rice cooker or heavy pot with a tight lid
- Large shallow bowl (wooden hangiri if you have one)
- Rice paddle or wide silicone spatula
- Small saucepan for seasoning
- Fan (a hand fan or small electric fan), optional but useful
Instructions
- Rinse the rice thoroughly. Add the rice to a bowl and cover with cold water. Swirl gently, then drain.Repeat 4–6 times until the water runs mostly clear. This removes extra starch and prevents gumminess.
- Soak the rice. Transfer rinsed rice to a pot or rice cooker bowl and add 2 cups fresh water. Let it soak for 20–30 minutes.This step ensures even hydration and helps each grain cook through.
- Cook the rice.
- Rice cooker: Add the kombu on top (if using), then cook on the regular white rice setting. Remove kombu as soon as cooking ends.
- Stovetop: Add the kombu (optional), cover, bring to a gentle boil over medium heat, then reduce to low and simmer 12 minutes. Turn off heat and let it steam, covered, 10 minutes.Remove kombu.
- Make the sushi vinegar (awase-zu). While the rice cooks, warm the rice vinegar, sugar, and salt in a small saucepan over low heat. Stir just until the sugar and salt dissolve. Do not boil.Set aside to cool slightly.
- Transfer the rice for seasoning. Scoop hot rice into a large, shallow bowl. Avoid scraping any crusty bits from the bottom of the pot. Those can make the rice gritty.
- Season with a gentle hand. Drizzle about two-thirds of the vinegar mixture evenly over the rice.Using the paddle, cut and fold the rice: scoop under, flip, and fan out instead of stirring or mashing. This keeps the grains intact and glossy.
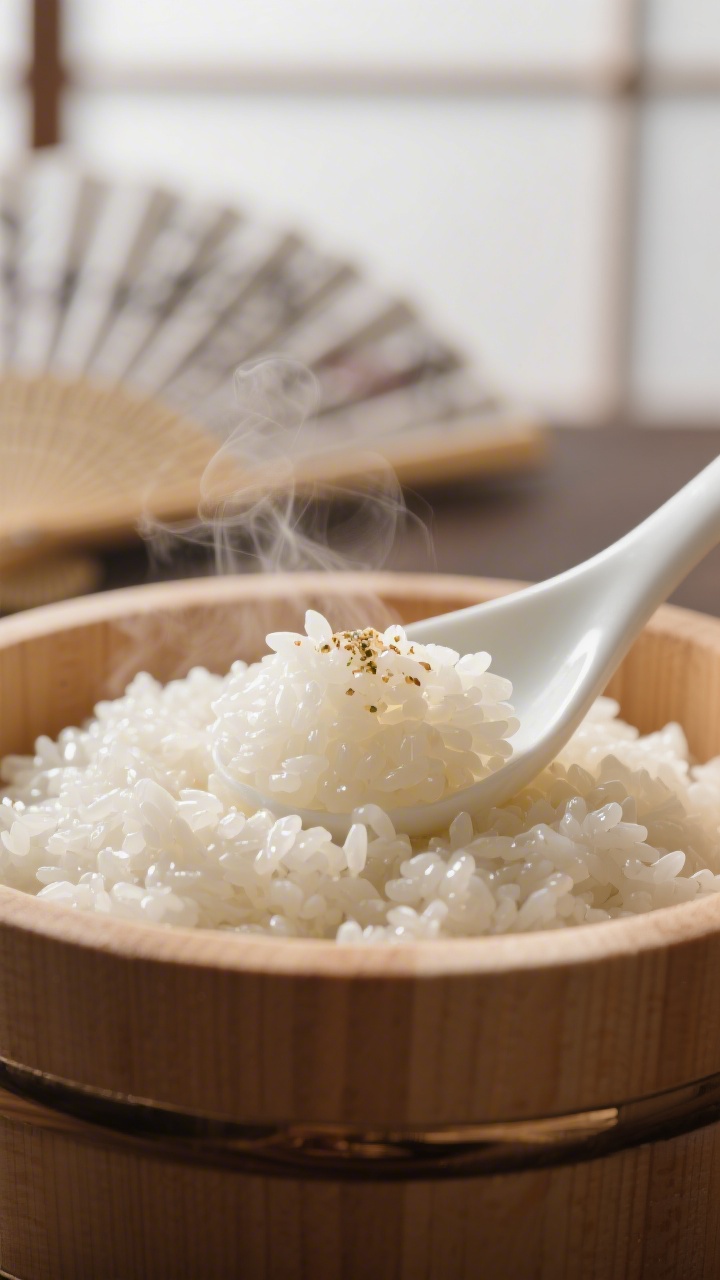
- Fan as you mix. If possible, fan the rice as you fold. The airflow helps the grains cool quickly and stay shiny, preventing them from turning soggy.Add more seasoning to taste, folding after each addition. You might not need all of it.
- Cool to body temperature. Keep folding and fanning until the rice reaches just warm—around body temperature. It should be sticky enough to hold together but each grain should still look distinct.
- Cover and rest. Drape the rice with a clean, slightly damp towel to prevent drying.Let it rest 10 minutes before using. Use within 2 hours for best texture.
Keeping It Fresh
- Short-term: Keep seasoned rice at room temperature under a damp towel. Avoid the fridge if you plan to use it soon—cold air hardens the starch and makes the rice crumbly.
- Longer hold: If you need more than 2 hours, place the covered bowl in the coolest part of your kitchen.Refresh the towel with warm water if it dries out.
- Leftovers: Refrigeration changes the texture. If you must store, seal in an airtight container up to 24 hours. Reheat gently in the microwave with a damp paper towel to soften, but note it won’t be perfect for sushi afterward.It’s great for rice bowls.
Health Benefits
- Clean ingredients: Just rice, vinegar, a touch of sugar and salt. You control the seasoning, so it can be lighter than takeout.
- Energy source: Short-grain rice provides steady carbohydrate energy, ideal before workouts or when you need a reliable fuel.
- Vinegar perks: Rice vinegar adds flavor without fat and may help with post-meal blood sugar response in some people.
- Gluten-free by nature: Sushi rice is naturally gluten-free. Just ensure your vinegar and add-ins are certified if needed.
Common Mistakes to Avoid
- Skipping the rinse: Unrinsed rice carries excess surface starch, leading to gluey, clumped rice.
- Overmixing: Stirring aggressively crushes grains.Use a light cut-and-fold motion to protect texture.
- Adding seasoning too hot: Boiling vinegar can taste harsh. Warm it only to dissolve sugar and salt.
- Chilling too soon: Refrigeration makes rice firm and dry. Keep it covered at room temp until you assemble sushi.
- Wrong rice type: Medium- or long-grain won’t deliver the same stickiness.Choose short-grain Japanese rice labeled for sushi.
- Using old rice: Aged rice absorbs water differently. If using older stock, you may need a splash more water.
Recipe Variations
- Lightly seasoned: Reduce sugar to 1 tablespoon and salt to 1 teaspoon for a cleaner, less sweet profile.
- Sweeter style: For maki with bold fillings, increase sugar to 3 tablespoons for a classic Tokyo-style balance.
- Kombu-forward: Steep a larger piece of kombu in the cooking water for deeper umami. Remove before boiling to avoid sliminess.
- Brown sushi rice: Use short-grain brown rice, add 10–15% more water, and extend cooking and steaming times.Expect a chewier bite and nuttier flavor.
- Seasoned with mirin: Replace 1 teaspoon of sugar with 1 tablespoon mirin in the vinegar mix for gentle sweetness and aroma.
FAQ
Can I use a regular pot instead of a rice cooker?
Yes. Use a heavy pot with a tight lid, follow the soak, simmer (12 minutes), and steam (10 minutes) steps, and resist lifting the lid while it cooks.
What if my rice turns out too wet?
Let it steam uncovered for a minute or two, then transfer to a wide bowl and fan as you fold. Next time, reduce the cooking water by 1–2 tablespoons.
What if it’s too dry or hard?
Sprinkle a tablespoon or two of hot water over the rice, cover, and let it steam for 5 minutes off heat.
For future batches, add a touch more water during cooking.
Is apple cider vinegar okay?
Rice vinegar is best for clean flavor. If you must substitute, mix apple cider vinegar with a little water (3 parts vinegar to 1 part water), then adjust sugar to taste.
How sticky should sushi rice be?
It should clump gently when pressed but release cleanly from your fingers with a light touch of water or vinegar on your hands.
Do I have to use kombu?
No. Kombu adds subtle umami and aroma, but the rice will still taste great without it.
How much rice do I need per roll?
Plan about 3/4 cup cooked rice per full nori sheet.
Two cups uncooked rice makes roughly 5–6 rolls, depending on thickness.
Can I make the vinegar mix ahead?
Yes. The seasoning keeps for up to a month in a sealed jar in the fridge. Bring to room temperature before using.
In Conclusion
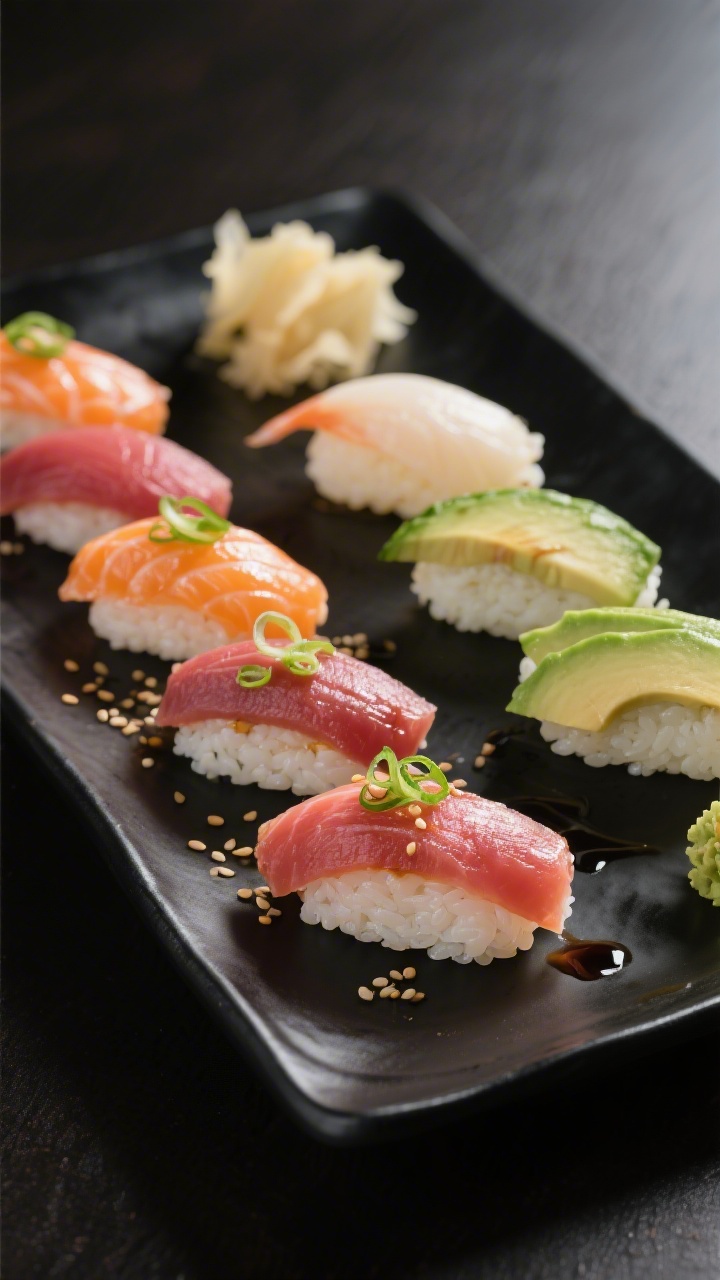
Perfect sushi rice comes down to a few habits: rinse well, soak, measure water accurately, and season with care while fanning.
The result is glossy, tender grains that hold together without turning gummy. Once you master this, everything from simple avocado rolls to elegant nigiri becomes easy and fun. Keep a jar of sushi vinegar ready, practice your folding technique, and you’ll have restaurant-quality rice whenever the craving hits.
Printable Recipe Card
Want just the essential recipe details without scrolling through the article? Get our printable recipe card with just the ingredients and instructions.