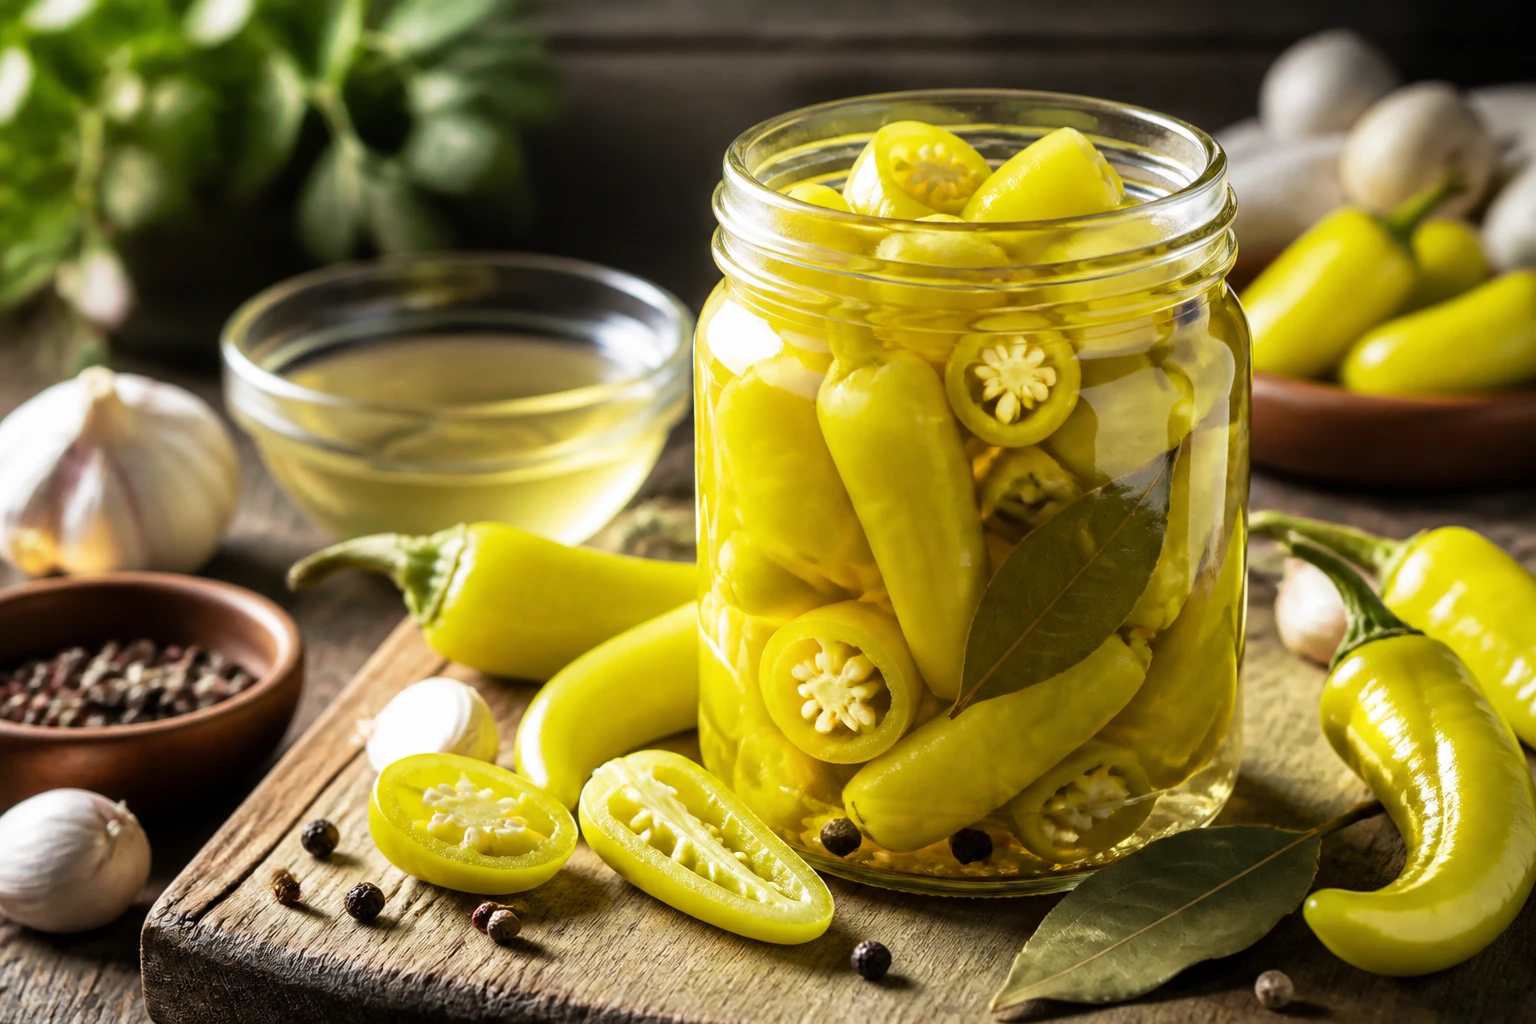
From quick peppers to tangy bites, easy pickled banana peppers are the snack your fridge never knew it needed. You’ll crunch, you’ll grin, you might even do a little happy dance. Ready to level up your sandwiches, salads, and late-night cravings? Let’s pickle some sunshine.
What makes banana peppers so darn pickle-friendly
Banana peppers are mild, bright, and almost begging to be brined. They stay crisp, soak up tangy flavors, and won’t set off a spice alarm in your mouth. FYI: the seeds are where most heat hides, so you can tune the level just by scooping or leaving them behind. Think of them as the blank canvas of the pickling world—accessible, forgiving, and endlessly versatile.
Gathering your supplies: what you actually need
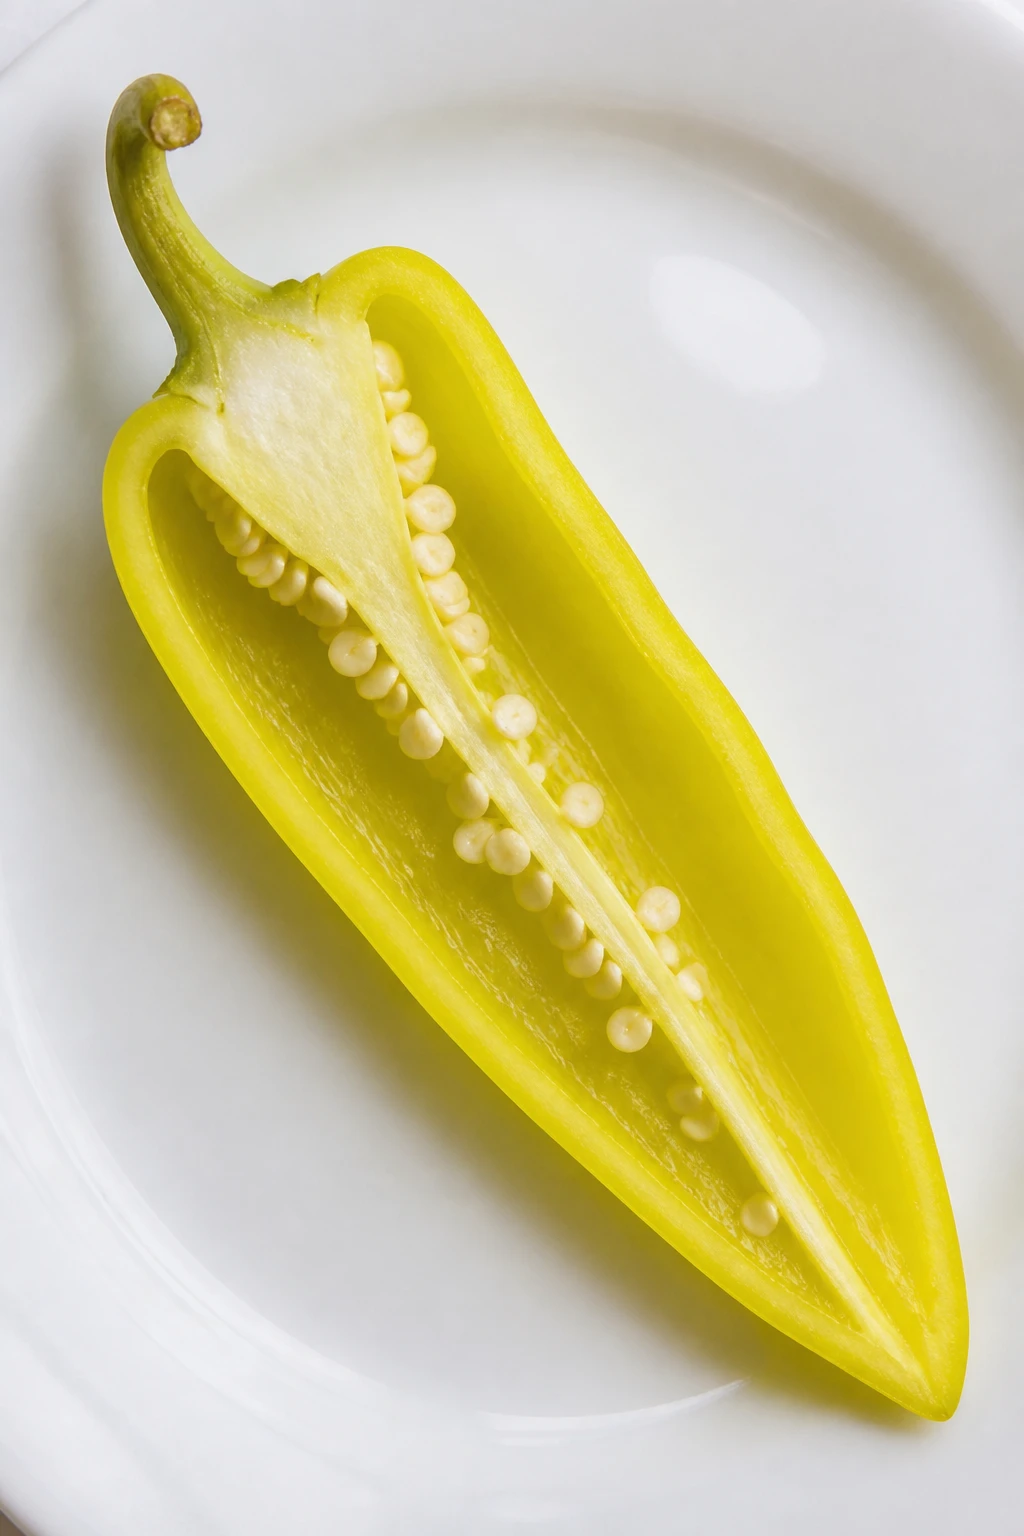
– Fresh banana peppers: 1–2 pounds, depending on how ambitious you are.
– Vinegar: white or cider works, but white vinegar keeps it classic.
– Water: a splash to smooth out acidity.
– Sugar and salt: a pinch of sweetness and a dash of savory.
– Garlic: 2–3 cloves for aroma without overpowering.
– Spices: peppercorns, mustard seeds, and a bay leaf are my go-tos.
– Optional additions: chili flakes for a kick, oregano for an Italian twist, or dill for a dill-icious bite.
– Jars: clean glass jars with tight lids.
Simple brine, serious results
Your brine is the backbone, so keep it straightforward. Bring to a boil, then simmer briefly to dissolve sugar and salt. The goal? A bright, clean brine that doesn’t dominate the pepper’s natural sweetness. Quick tip: taste the brine before pouring it over the peppers. If it tastes good in the bowl, it’ll taste great in the jar.
Step-by-step: how to pickle banana peppers like a pro
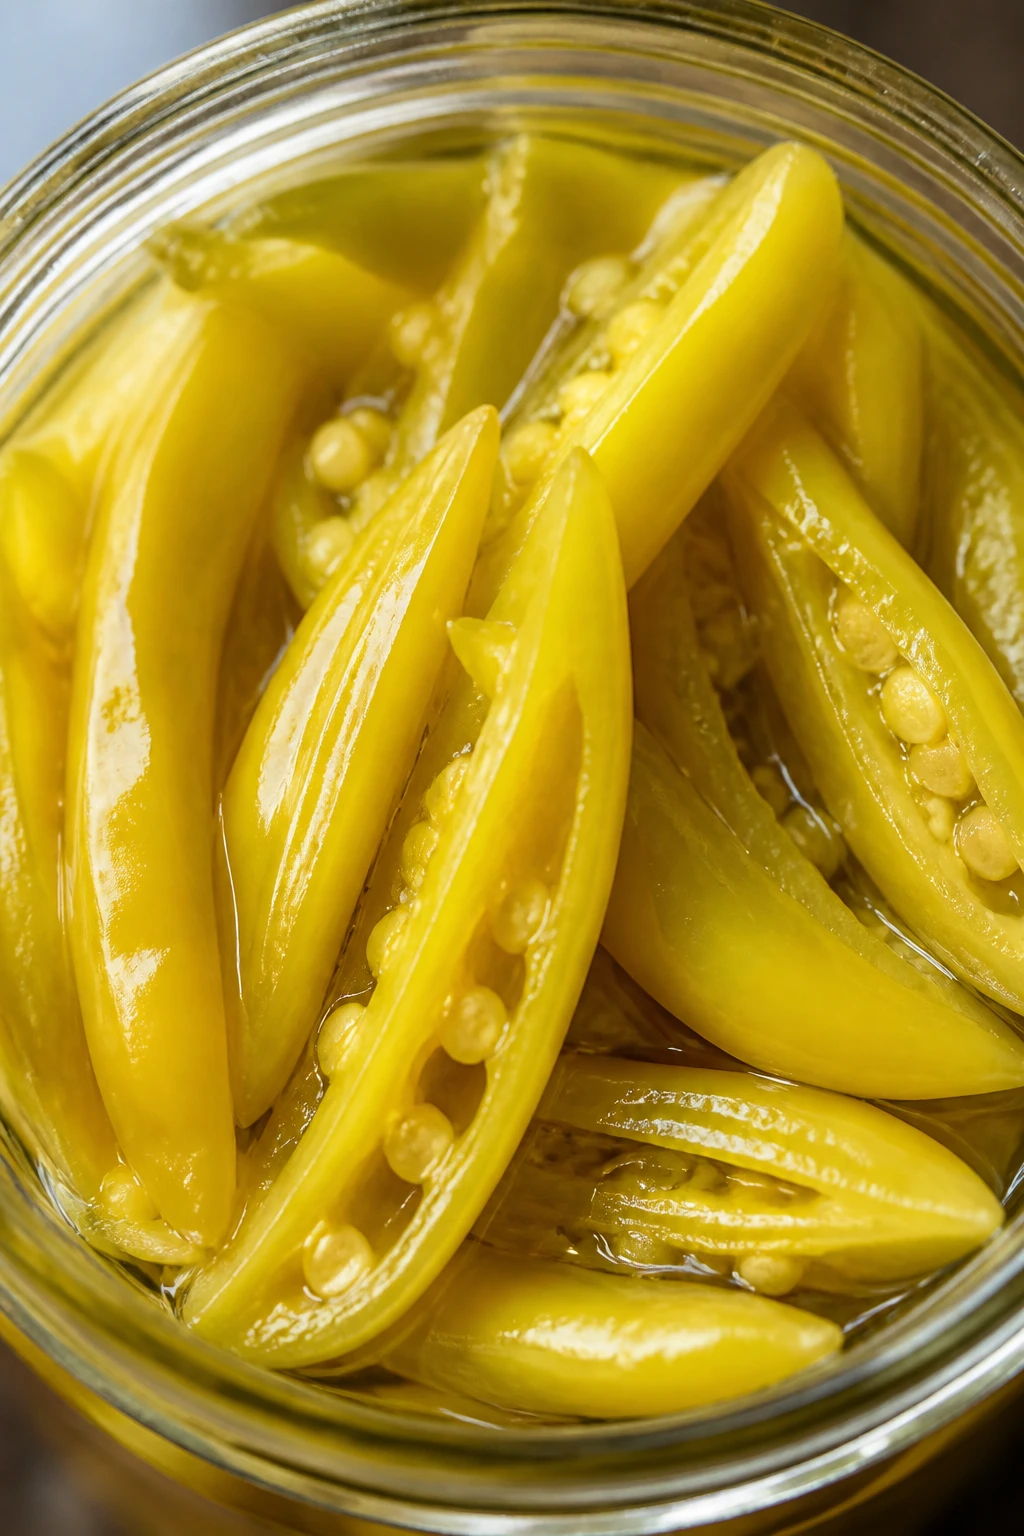
- Wash peppers well and trim the stems. If you want, slice them into rings or leave them whole for a bolder bite.
- Pack peppers into jars snugly but not crushy-crushy. Layer garlic and spices as you go for a party in every bite.
- Pour hot brine over peppers, leaving about ½ inch headspace. The heat helps soften edges and release flavors.
- Wipe rims, seal jars, and let them cool on the counter. Once cooled, refrigerate or process in a water bath for longer shelf life.
- Let them rest. Two days minimum makes a noticeable difference, but a week is the sweet spot for deeper tanginess.
Quick-fire FAQ: common questions, clear answers
Can I use any peppers with this brine?
Yes and no. Banana peppers are milder and have a crisp texture that holds up to brine. If you substitute a hotter pepper, you’ll introduce more heat. If you’re chasing a milder vibe, stick to the classic banana pepper shape and size.
Do I need to pressure can or water-bath can this?
If you want long-term pantry storage, go with a proper canning method. For fridge pickles, you’re golden with just a clean jar and quick-brine approach. FYI: fridge pickles stay tasty for about 1–2 months, while properly canned jars can last much longer if sealed correctly.
What about sweetness and salt balance?
Start with a light hand and taste as you go. If you love a sweeter kick, add a bit more sugar. If you crave tang, amp up the vinegar slightly. Remember, the peppers will soak up the brine, so the flavor will intensify over time.
Can I add heat or more flavor?
Absolutely. Add red pepper flakes, a sliced jalapeño, or a pinch of chili powder to dial in heat. Fresh dill, oregano, or a bay leaf can shift the vibe from Italian to Mediterranean in minutes. IMO, experimentation is half the fun.
How crisp do they stay after pickling?
If you keep the peppers cold and crisp-cut during packing, you’ll still get a satisfying snap after pickling. Avoid overcooking the peppers during brine preparation, and you’ll preserve that satisfying crunch.
What’s the best way to store them?
Refrigeration is your friend for fridge pickles. If you’re canning, store in a cool, dark place as directed by your canning method. Either way, keep them in a sealed jar away from direct sunlight and heat.
Flavor ideas: how to use pickled banana peppers
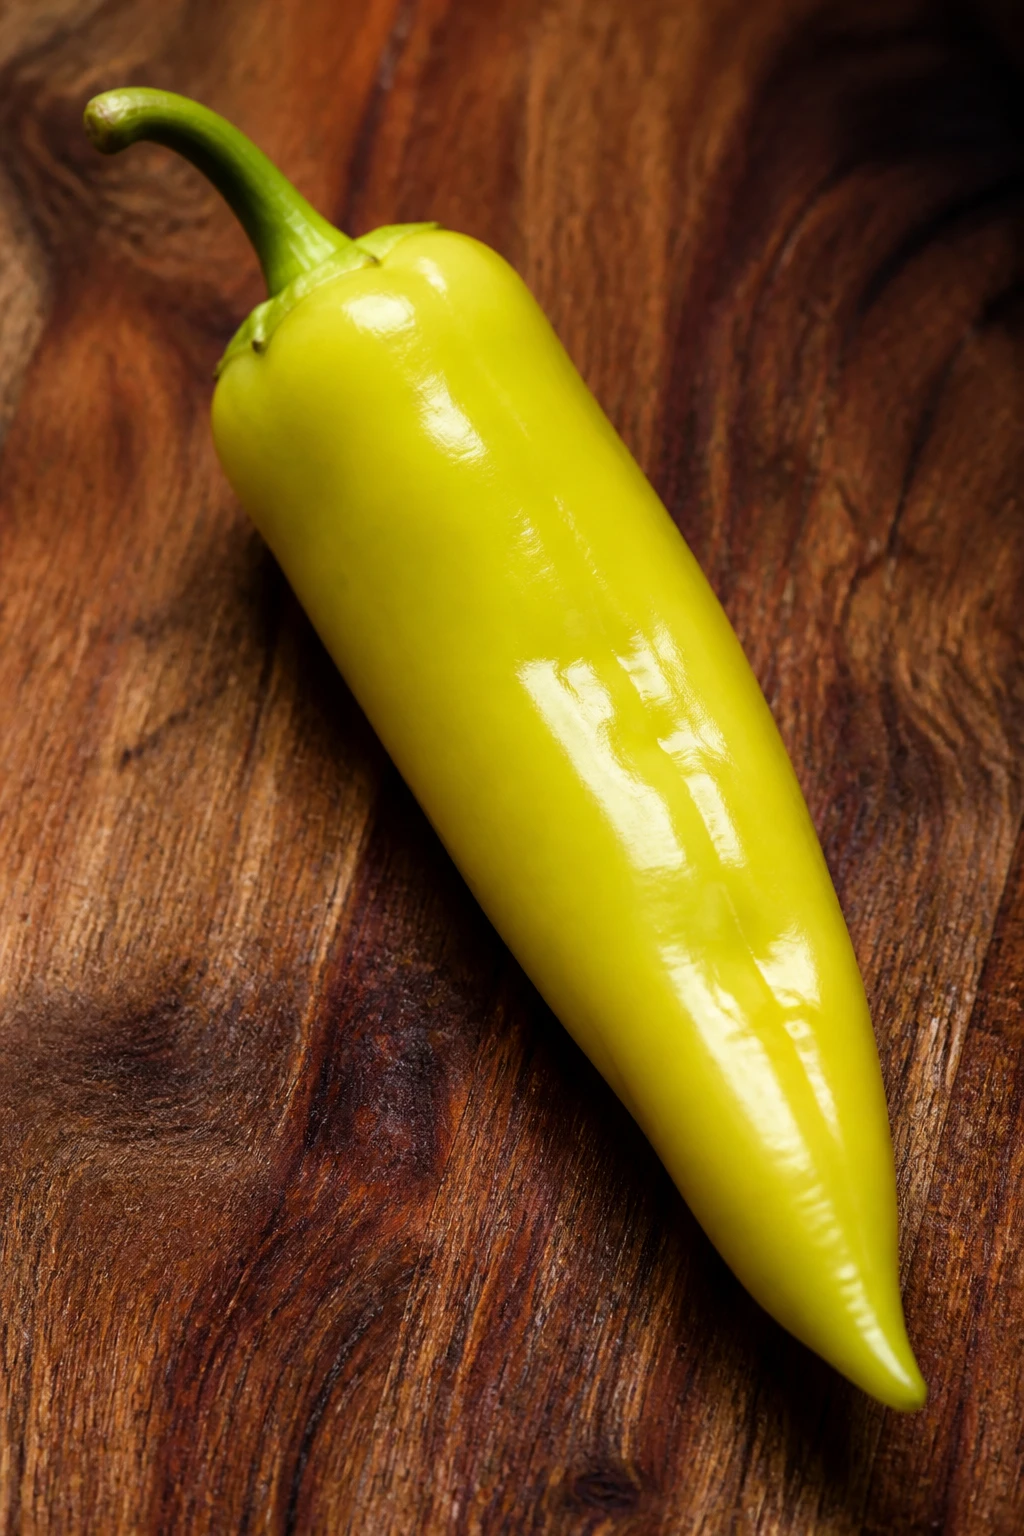
– Sandwich booster: stack them on turkey, ham, or grilled cheese for quick zing.
– Salad sparkle: toss into green salads or grain bowls for bright acidity.
– Snack upgrade: pair with cream cheese and crackers, or use as a crunchy garnish on a charcuterie board.
– Topping for bowls: add to avocado toast, huevos rancheros, or loaded nachos for a pop of color and bite.
Pro tips for consistent results
– Keep everything clean: wash jars and utensils; any stray bacteria can derail your pickling party.
– Slice evenly: uniform pieces brine faster and more evenly.
– Don’t overfill jars: leave room for brine to circulate and flavor peppers fully.
– Label your jars: date them so you know when to expect peak flavor.
– Temperature matters: cool, not icy cold, brine helps crisp peppers rather than shocking them.
Experimentation corner: fun twists to try
– Garlic lovers club: double the garlic for a bold, garlicky punch.
– Dill crowd favorite: add fresh dill sprigs for a fresh, herb-forward note.
– Spicy upgrade: a pinch of crushed red pepper flakes gives a sneaky heat that finishes bright.
– Mustard seed magic: a little extra mustard seed can add a tangy, almost pickle-juice vibe.
Conclusion: your easy pickled banana peppers journey
If you thought pickling was intimidating, think again. With a simple brine, crisp peppers, and a few tasty twists, you’re minutes away from a stash that livens up meals and snacks alike. IMO, the best part is how forgiving this process is—adjust to your taste, have fun, and don’t overthink it. FYI: once you nail the base, you’ll find yourself reaching for these jars all week. Happy pickling!