I make a pot of raspberry jam and somehow end up with sticky fingers, a smug smile, and a jar that somehow tastes like summer. If you’ve ever bitten into a fresh berry and thought, “I could totally make this into happiness in a jar,” you’re in the right place. Let’s skip the drama and get straight to the delicious.
Why homemade jam beats store-bought every single time
Ever tasted jam that actually tastes like the fruit it came from? That’s what you’re chasing here. Homemade jam lets you control sweetness, pectin, and texture. No pectin from a lab, no mystery ingredients, just berries, sugar, and a bit of elbow grease.
– You tailor sweetness: fewer preservatives, more true berry flavor.
– Texture you love: chunky, smooth, or somewhere in between—your call.
– A fridge-full of bragging rights: your mornings just got a lot more gourmet.
If you’re thinking, “Is this really easier than it sounds?” the answer is yes, with a few simple steps. FYI, you’ll be tasting jam before you know it.
Gathering supplies and choosing berries
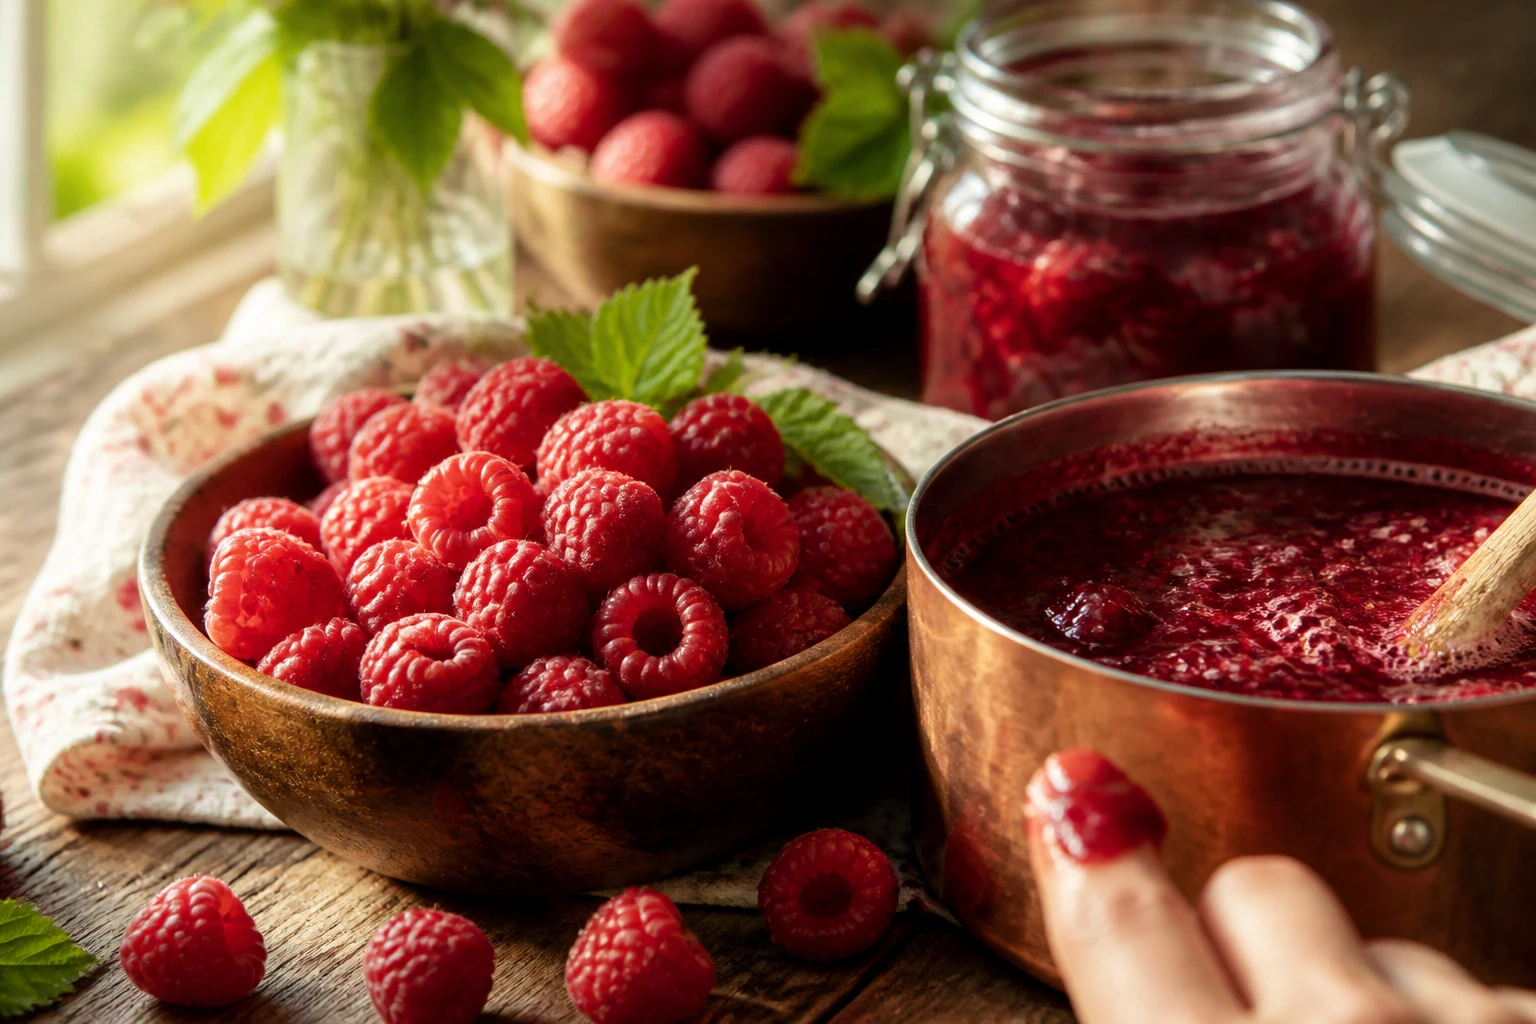
Your jam starts long before the pot hits heat. Pick the right berries and you set yourself up for success.
- Fresh vs. frozen: Fresh berries taste brighter, but frozen work in a pinch and save you a trip to the store.
- Raspberry ripeness: Look for plump berries that give a little when you press. You want flavor, not sour regrets.
- Sugar choice: Regular granulated sugar is fine, but superfine sugar dissolves faster. If you’re feeling fancy, use preserving sugar for a cleaner set.
- Acid boost: A squeeze of lemon (or a splash of lemon juice) brightens the flavor and helps with gel setting.
Optional extras that won’t wreck your jam
– Zest of lemon for extra zing.
– A touch of vanilla, cinnamon, or even a pinch of sea salt to deepen flavors.
– A few raspberries crushed in for texture variety.
The basic recipe that actually works
Here’s a straightforward, no-nonsense plan to get you jammin’ in roughly an hour.
- 4 cups raspberries, prepared (hulled, rinsed, and patted dry)
- 2 cups sugar (adjust to taste—you can go a bit less if you like tart jam)
- 2 tablespoons lemon juice
- 1 packet pectin (optional, see notes below)
– Rinse, smash, or puree to your preferred texture. I like some seeds for character; if you hate seeds, pass the berries through a quick food mill.
– Combine berries and sugar in a heavy-bottomed pot. Cook on medium heat, stirring often.
– When the mixture boils, add lemon juice. If you’re using pectin, whisk it into a little of the hot jam before returning to the pot to avoid lumps.
– Boil until the jam passes the “wrinkle test” on a chilled plate. If it wrinkles when you poke it, you’re done.
Texture talk: chunky vs smooth
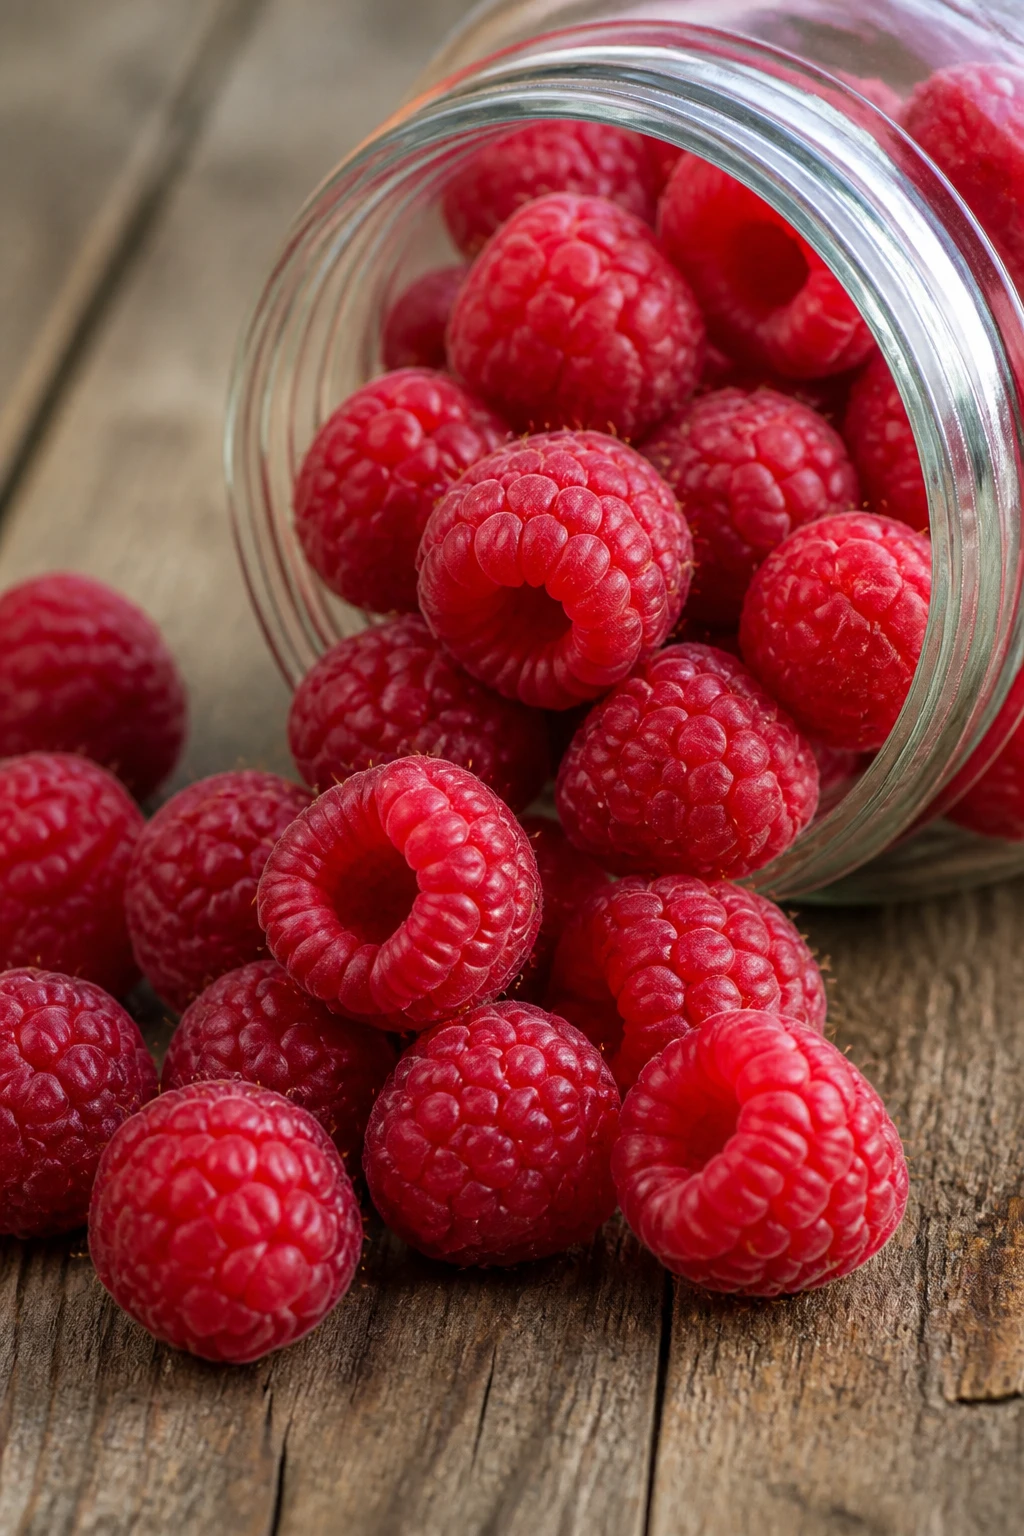
What’s your jam mood? Do you want big raspberry bursts or a velvet-smooth spread? Your texture choice changes the steps a bit.
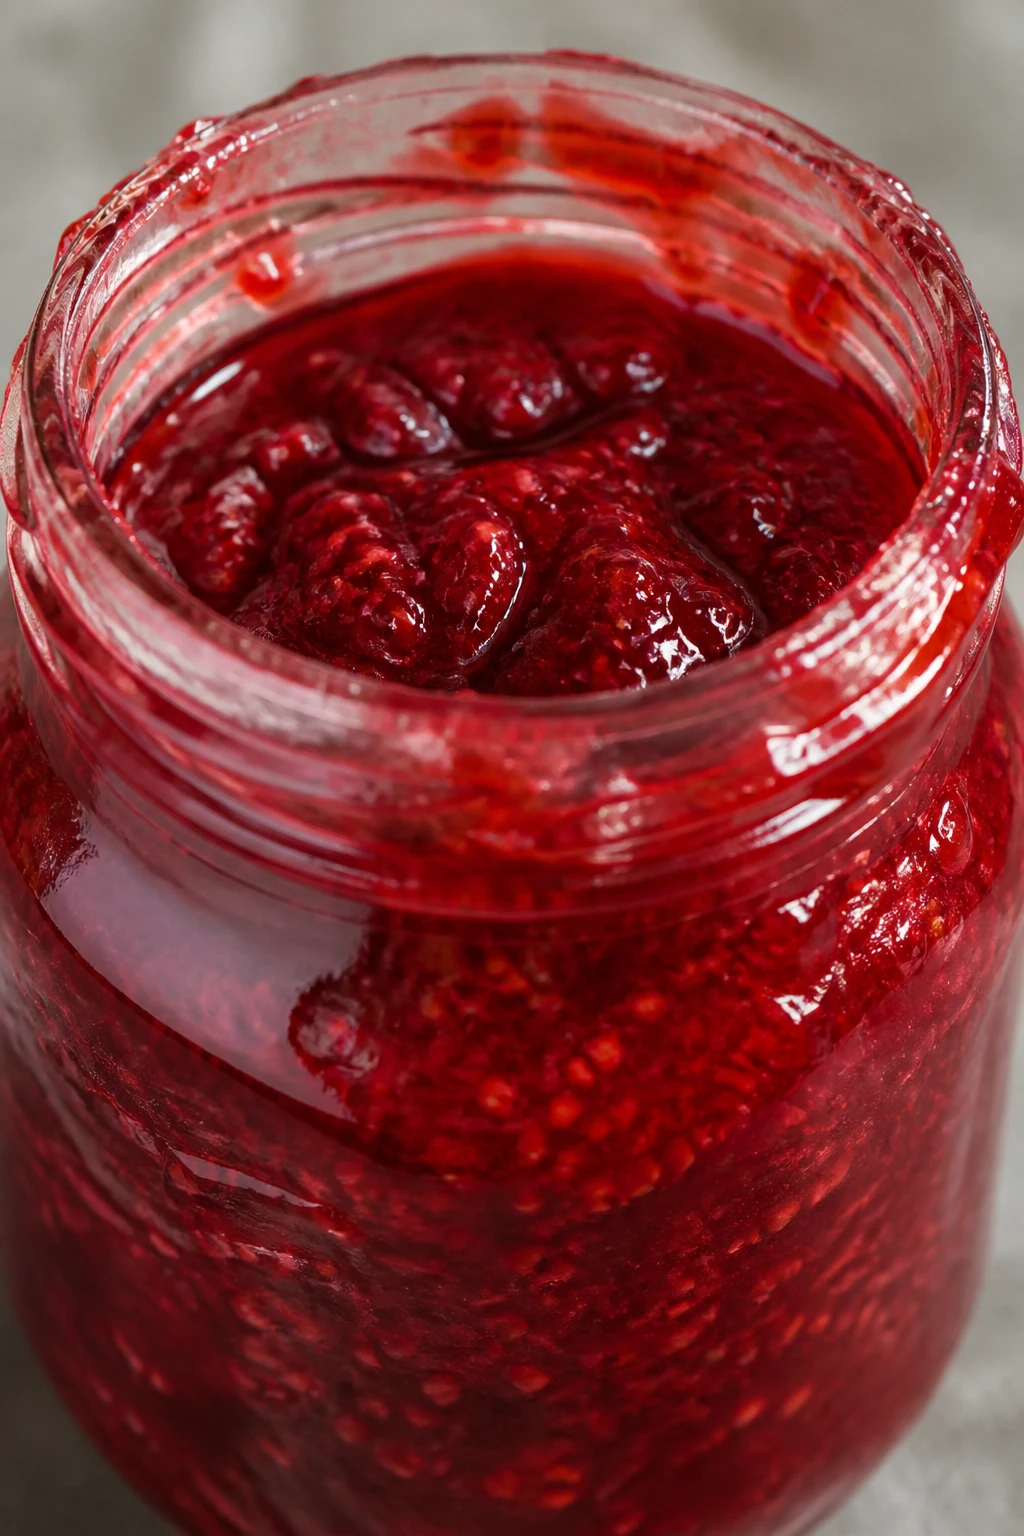
Chunky jam
– Lightly smash berries, keep some whole for personality.
– Skip over-mashing after the initial mix; you want visible fruit pieces.
Smooth jam
– Mash the berries more aggressively or run the mixture through a blender briefly after cooking.
– Return to the pan for a shorter boil to keep it glossy and not runny.
Purists vs. experimenters: pectin, sure—if you need it
Pectin helps jam set, but you can absolutely jam without it. Two paths exist:
- Commercial pectin: Quick, reliable, easy for beginners. Follow the package directions precisely.
- No-pectin method: Use longer cooking time and a bit more sugar or lemon juice to aid gel formation. It might take a little trial and error.
Natural pectin boosters
– Apples or citrus peels simmered with the berries can help the set.
– A splash of grape juice can lend extra pectin and body.
Preserving your jam: jars, lids, and the holy shelf life
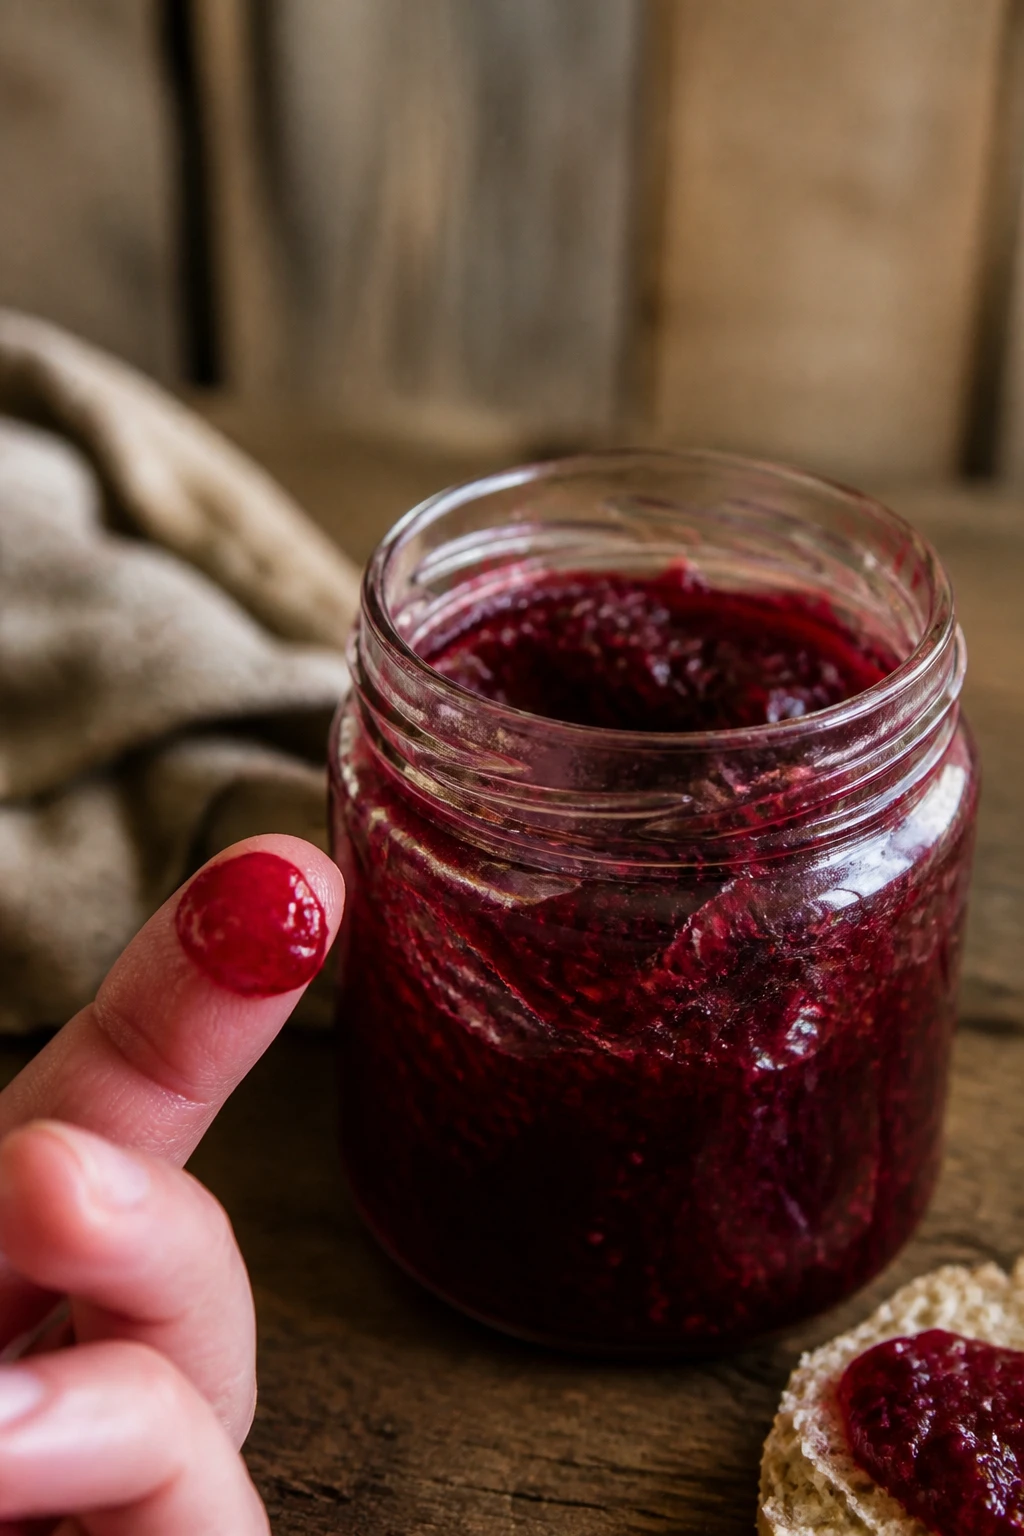
Jars are basically your jam’s best friends. Here’s how to keep them happy.
- Sterilize jars and lids: Boil them for 10 minutes or run through a hot cycle in the dishwasher.
- Fill while hot: Leave a tiny headspace for sealing.
- Seal and cool: After sealing, let the jars sit undisturbed until they cool. You’ll hear the satisfying “pop” of lids sealing.
- Storage: If you’re planning to use within a month, fridge storage is fine. For longer storage, process in a water bath for 10 minutes (adjust for altitude).
Flavor boosters and mix-ins you’ll actually use
Once you’ve got the base jam down, the world is your strawberry—okay, raspberry—universe.
- Herbs: A sprig of thyme or a pinch of rosemary can make a surprising old-meets-new combo.
- Spice: A hint of cinnamon or a pinch of cayenne for a tiny kick.
- Other fruit: Mix in a handful of crushed strawberries, blackberries, or blueberries for a seasonal twist.
Common hiccups and how to fix them
No one wants a jar of runny disappointment. Here are quick fixes so you keep your pride and your jam.
- Too runny: Return to the stove and boil a bit longer, or whisk in a touch more pectin. Test with the wrinkle test as you go.
- Too sweet: A splash of lemon juice or a touch more tart berries can balance it out.
- Too thick: Add a splash of water or more lemon juice and simmer briefly to loosen, then re-check.
FAQ
Can I use frozen raspberries for jam?
Yes. Frozen raspberries work great, especially off-season. Thaw and drain slightly if they release a lot of juice, and proceed as usual. FYI, frozen berries can sometimes make the jam a touch softer, which isn’t a bad thing if you like a looser spread.
How long does homemade raspberry jam last?
When properly sealed and stored in the fridge, it lasts about a month. If you process for shelf-stable canning, it can last up to a year in a cool, dark place. If you see mold or an off smell, toss it—don’t risk it.
Do I need pectin to make raspberry jam?
Not strictly. Raspberry jam is naturally a bit high in pectin, so many people skip extra pectin and still get a good set. If your jam doesn’t set as you like, you can add pectin or adjust cooking time.
What’s the best flavor combo for beginners?
Start simple: berries, sugar, lemon juice. If you want a tiny twist, vanilla or a touch of orange zest can elevate the profile without complicating the process.
Should I sterilize jars if I’m just refrigerating the jam?
Optional but nice. For fridge storage only, washing jars in hot soapy water and drying thoroughly is enough. For shelf-stable canning, you’ll want full sterilization and proper processing.
Conclusion
Making raspberry jam at home is less about chemistry and more about patience, taste, and a little bit of stubborn optimism. You’ll taste the berries, feel the jig of the spoon, and realize you’re not just spreading sweetness—you’re stamping your personality onto toast, yogurt, and pastries. So grab those berries, set up the pot, and vibe with the sizzle. IMO, your future self will thank you every morning at breakfast. You’ve got this, chef.