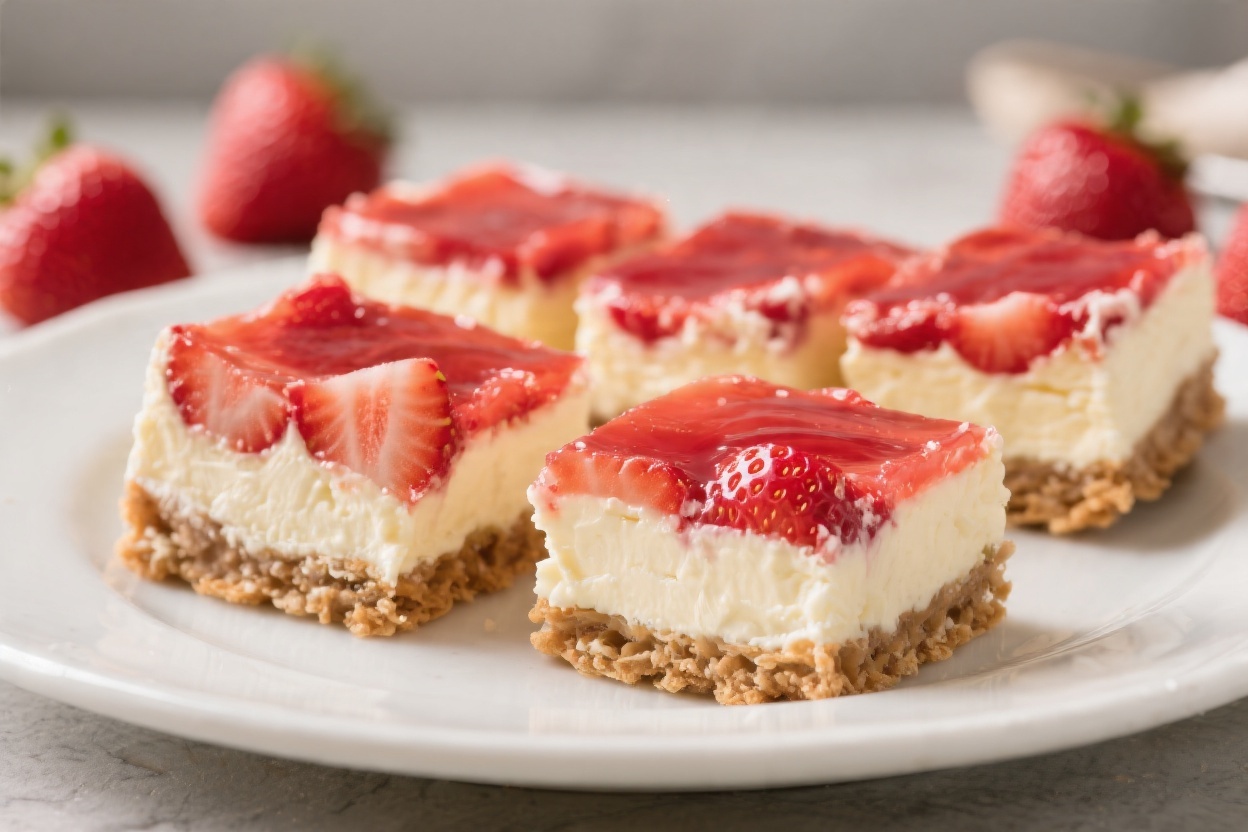
These no-bake strawberry cheesecake bars taste like summer in every bite. They’re cool, creamy, and bursting with fresh strawberry flavor, all on a buttery graham cracker crust. No oven, no fuss, and no complicated steps—just an easy dessert that looks beautiful and feels special.
Make them for cookouts, picnics, or any weeknight when you want something sweet and refreshing. You’ll love how quickly they come together and how fast they disappear.
Contents
What Makes This Recipe So Good
- No oven needed: Perfect for hot days when you don’t want to turn on the stove.
- Ultra-creamy texture: The filling is light, silky, and not too sweet.
- Fresh strawberry flavor: Real berries in a simple sauce deliver bright, natural sweetness.
- Simple ingredients: Everything is easy to find at any grocery store.
- Make-ahead friendly: Chill overnight and serve when you’re ready.
- Great for sharing: Bars slice cleanly and travel well for parties and potlucks.
What You’ll Need
- For the crust:
- 2 cups graham cracker crumbs (about 16 full sheets)
- 1/2 cup unsalted butter, melted
- 3 tablespoons granulated sugar
- 1/4 teaspoon fine salt
- For the cheesecake layer:
- 16 ounces cream cheese, softened to room temperature
- 1 cup powdered sugar, sifted
- 1 teaspoon pure vanilla extract
- 1 tablespoon lemon juice (freshly squeezed)
- 1 cup cold heavy whipping cream
- 1/4 cup sour cream (optional for extra tang and creaminess)
- For the strawberry topping:
- 1 pound fresh strawberries, hulled and sliced (plus a few extra for garnish)
- 1/3 cup granulated sugar
- 1 tablespoon lemon juice
- 1 tablespoon cornstarch mixed with 1 tablespoon cold water (slurry)
- Pinch of salt
- Equipment:
- 8×8-inch or 9×9-inch square pan (lined with parchment)
- Mixing bowls, hand mixer or stand mixer
- Spatula, saucepan, and whisk
Step-by-Step Instructions
- Prepare the pan: Line a square baking pan with parchment, leaving overhang on two sides for easy lifting. Lightly grease the sides.
- Make the crust: Stir graham crumbs, sugar, and salt in a bowl.Add melted butter and mix until the crumbs look like wet sand. Press firmly into the pan in an even layer. Use the bottom of a measuring cup to compact it well.
- Chill the crust: Place the pan in the fridge for 20 minutes (or freezer for 10) while you make the filling.A cold, compact crust prevents crumbling.
- Beat the cream cheese: In a large bowl, beat softened cream cheese until smooth and fluffy, about 2 minutes. Scrape the bowl so no lumps remain.
- Add sweetness and flavor: Beat in powdered sugar, vanilla, and lemon juice until silky. Mix in sour cream if using.
- Whip the cream: In a separate bowl, whip cold heavy cream to stiff peaks.Don’t overbeat—stop when it holds shape and looks glossy.
- Fold to combine: Gently fold the whipped cream into the cream cheese mixture in two additions. Keep it airy; don’t stir aggressively.
- Spread the filling: Spoon the cheesecake mixture over the chilled crust and smooth the top. Tap the pan lightly on the counter to remove air pockets.Refrigerate while you make the topping.
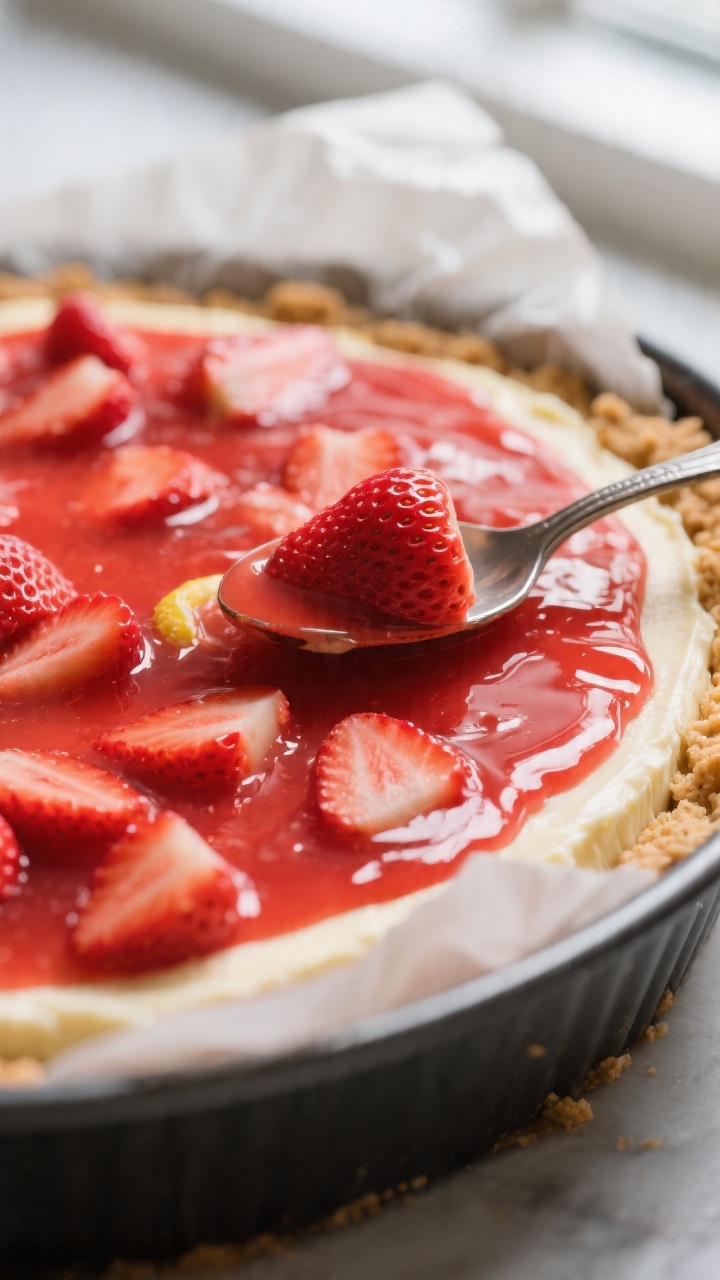
- Cook the strawberries: In a saucepan, combine sliced strawberries, sugar, lemon juice, and a pinch of salt. Cook over medium heat, stirring, until the berries release juices and start to soften, 3–5 minutes.
- Thicken the sauce: Stir in the cornstarch slurry. Simmer 1–2 minutes until glossy and slightly thickened.It should coat a spoon. Remove from heat and cool to room temperature.
- Add the topping: Once the strawberry mixture is cool, spread it evenly over the cheesecake layer. For a cleaner look, keep a 1/4-inch border around the edges.
- Chill to set: Cover and refrigerate at least 6 hours, preferably overnight.This helps the bars slice neatly and hold their shape.
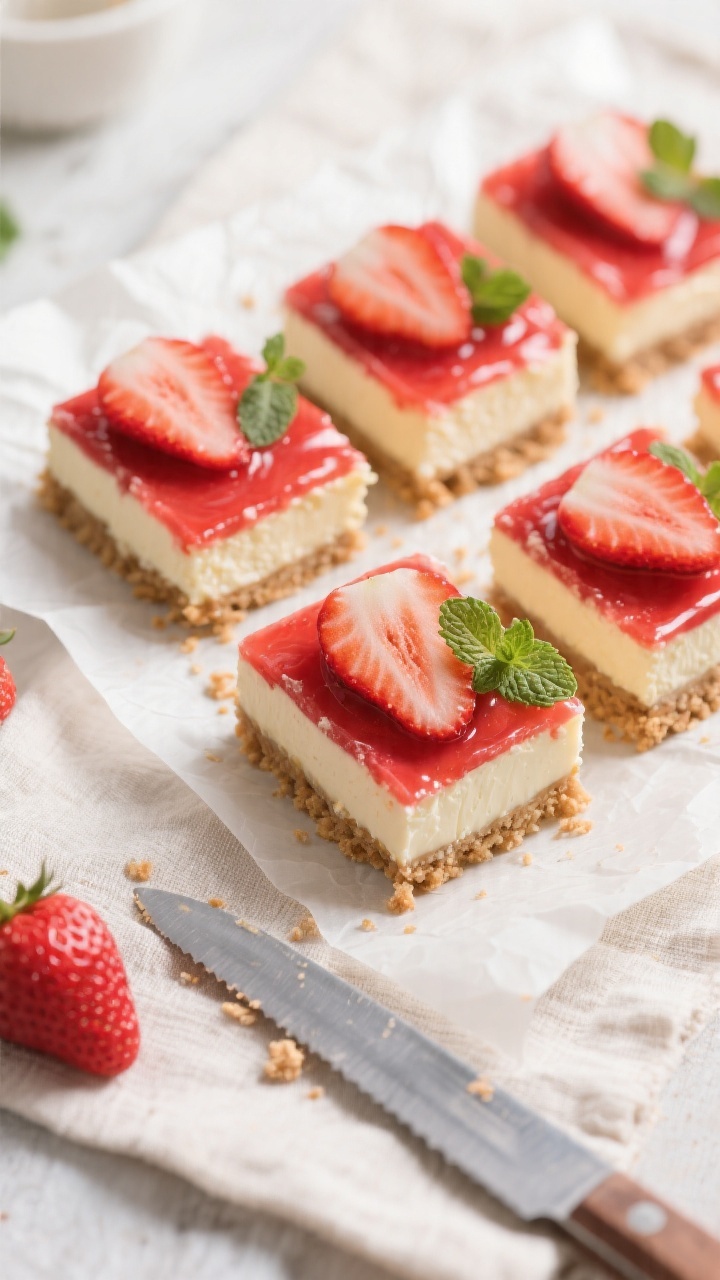
- Slice and serve: Lift the bars out using the parchment. Warm a sharp knife under hot water, wipe dry, and cut into squares. Garnish with fresh strawberry slices or a mint leaf if you’d like.
Storage Instructions
- Refrigerator: Store in an airtight container for up to 4 days.Keep them covered to prevent the topping from drying out.
- Freezer: Freeze bars (without the fresh garnish) for up to 2 months. Wrap tightly and thaw overnight in the fridge before serving.
- Make-ahead tip: You can prepare the crust and cheesecake layers a day in advance and add the strawberry topping the morning you plan to serve.
Why This is Good for You
- Real fruit: Strawberries bring vitamin C, fiber, and natural sweetness.
- Portion control: Bars make it easy to serve smaller pieces if you’re watching sugar or calories.
- No baking stress: Lower effort means more time to relax and enjoy summer gatherings.
- Balanced sweetness: Lemon juice and a touch of salt keep the flavor bright, not cloying.
Common Mistakes to Avoid
- Using cold cream cheese: It won’t blend smoothly and can leave lumps. Soften it at room temperature for 30–60 minutes.
- Overmixing the filling: Be gentle when folding in whipped cream.Overmixing deflates it and makes the bars dense.
- Skipping the chill time: The bars need several hours to set. Rushing leads to messy slices.
- Warm strawberry topping: Never add it hot. Let it cool completely to avoid melting the cheesecake layer.
- Loose crust: Press the graham mixture firmly and chill it to prevent crumbling.
Recipe Variations
- Mixed Berry: Swap half the strawberries for blueberries or raspberries.Adjust sugar if your berries are very tart.
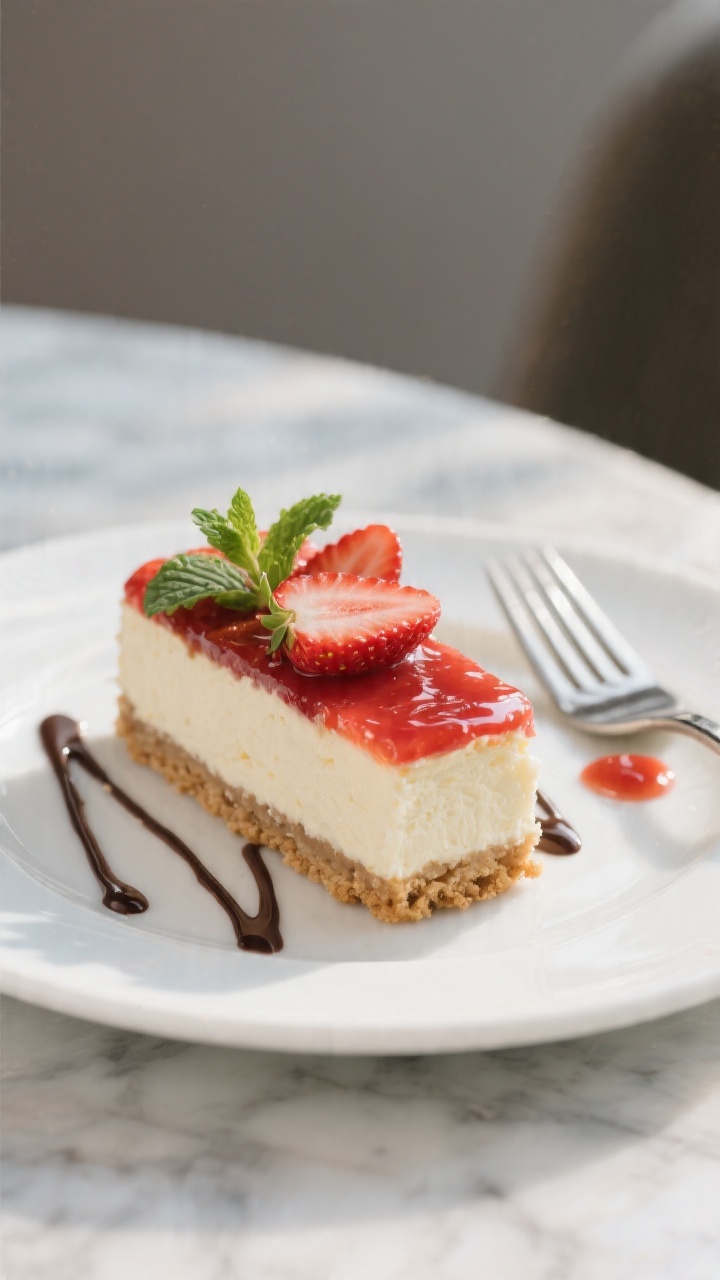
- Chocolate Drizzle: After chilling, drizzle melted dark chocolate over the top for a sweet, slightly bitter contrast.
- Lemon-Lover’s: Increase lemon juice to 2 tablespoons and add 1 teaspoon lemon zest to the filling.
- Gluten-Free: Use gluten-free graham crackers or almond-flour cookies for the crust.
- Lighter Version: Use Neufchâtel (reduced-fat cream cheese) and skip the sour cream. The texture will be slightly less rich but still creamy.
- No-Cook Topping: Skip cooking the berries. Toss sliced strawberries with 1–2 tablespoons sugar and 1 teaspoon lemon juice, then spoon over just before serving.Juicier, less set, but very fresh.
FAQ
Can I use frozen strawberries?
Yes. Thaw and drain well before cooking the topping. You may need an extra teaspoon of cornstarch if the mixture looks thin.
How long do the bars need to chill?
At least 6 hours, but overnight is best.
A longer chill gives you cleaner slices and a firmer texture.
Can I make this in a 9×13-inch pan?
You can, but the layers will be thinner. Increase the crust by 50% and the filling by about 25–30% for fuller bars, and monitor chill time.
What if I don’t have a mixer?
You can use a sturdy whisk for the cream cheese and a hand whisk for the whipped cream, but it takes more effort. Chill the bowl and cream to help them whip faster.
Why is my crust crumbly?
It likely needs more butter or a firmer press.
Add 1–2 tablespoons melted butter if the mixture seems dry, and pack it tightly before chilling.
Can I reduce the sugar?
Yes. Cut 2–3 tablespoons from the powdered sugar in the filling and reduce the topping sugar to 1/4 cup. Taste and adjust based on your berries.
How do I get super clean slices?
Chill overnight, use a hot, dry knife, and wipe the blade between cuts.
Refrigerate the bars again for 10 minutes if they start to soften.
In Conclusion
These no-bake strawberry cheesecake bars are everything you want in a summer dessert—cool, creamy, fruity, and effortless. With a simple crust, a smooth filling, and a bright strawberry topping, they look impressive without any stress. Make them a day ahead, slice when you’re ready, and enjoy every chilled, berry-filled bite.
Printable Recipe Card
Want just the essential recipe details without scrolling through the article? Get our printable recipe card with just the ingredients and instructions.